

Gifting Wrapping Wraps
Depending on where my crafting took me during the year, it’s a sure indicator of what I’ll be gifting others when the year draws to an end. I’ve been making my gifts for several years and this time will be no different.
I wanted to make something more sustainable as that has been a big part of my sewing, being able to use my stash and only buying the necessities, like buttons and interfacing. This year I’ve opted to make some beeswax wraps to help my family and others reduce their single use plastic waste.
“Somewhere inside all of us is the power to change the world.”
I recently unearthed a bag of beeswax pellets from my room, possibly remnants from my candle making stint a few years ago, but as they smelled so good I didn’t want to just throw them away. For anyone reading this post who is looking for an alternative, then soy or candelilla wax will also work. Soy is all natural and is a great substitute for beeswax and can also be used in equal amounts in recipes. Candelilla wax is a little denser, so I recommend you use half the amount of candelilla wax as beeswax since it has twice the stiffening powers.
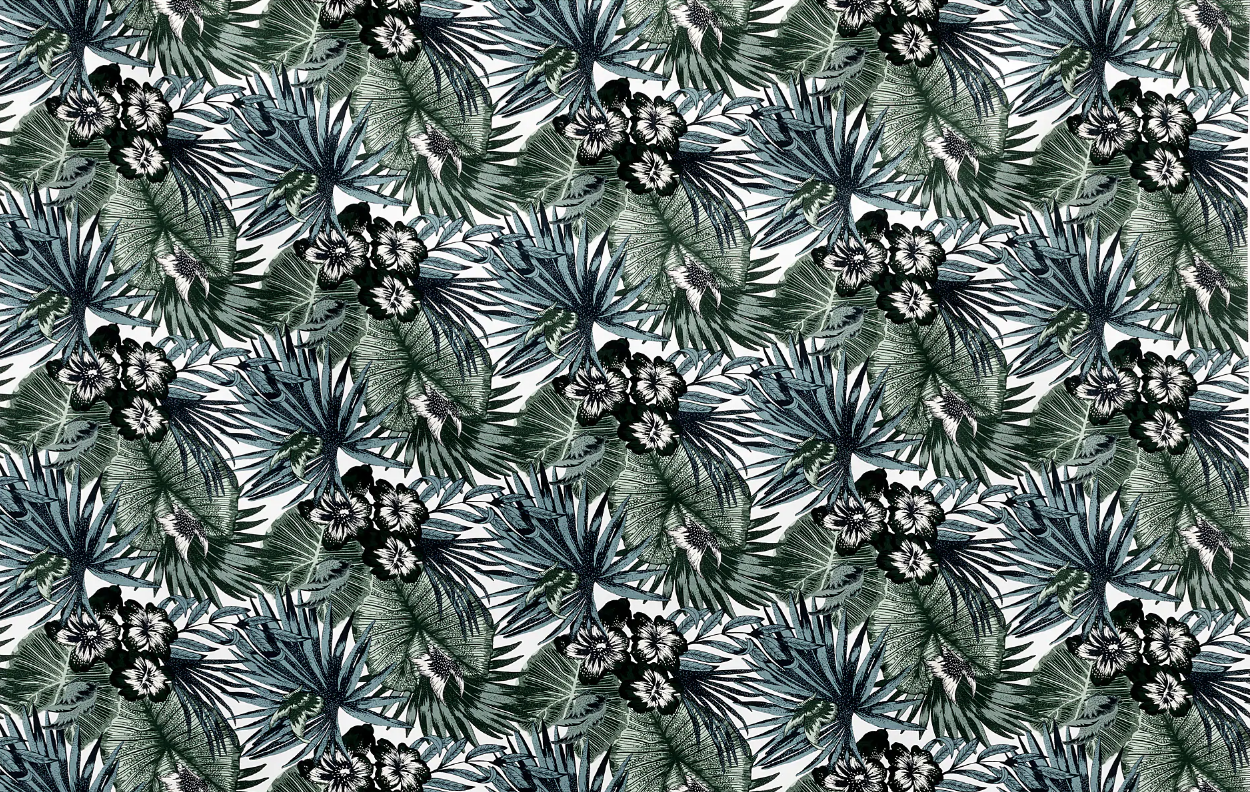
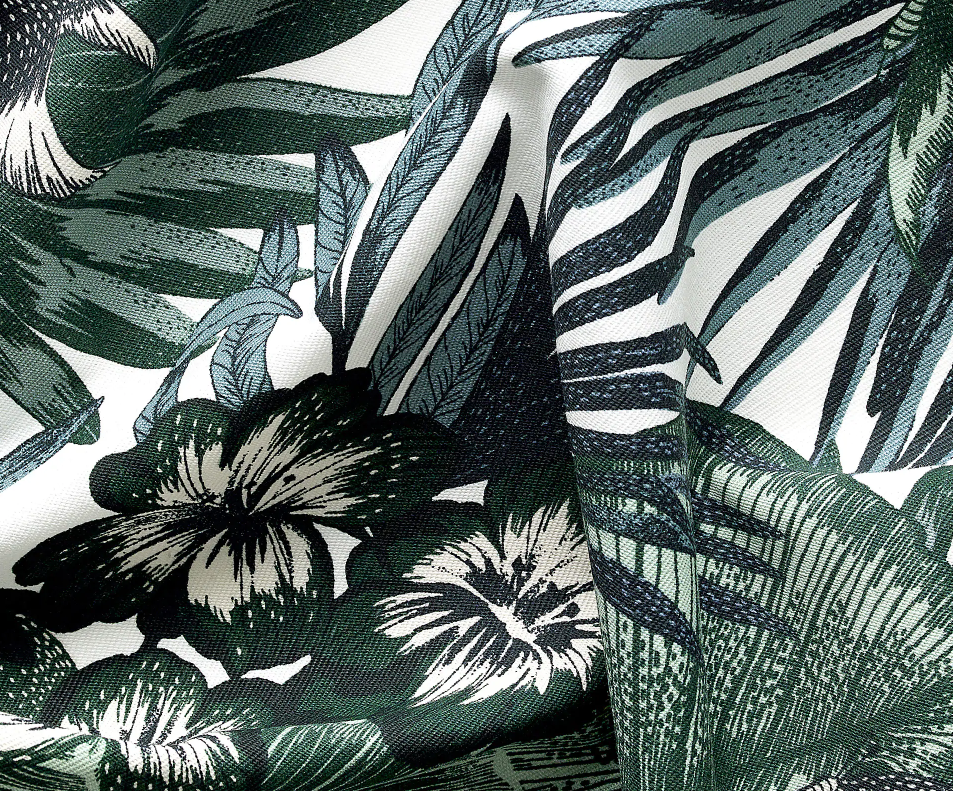
For my fabric, I’ll be using 100% cotton from IKEA; It was hard to choose from their website as they don’t give you the option to buy online, so I could only really decide when I visited my local IKEA, choosing from the availability and their appearance. If you don’t have 100% cotton to hand, then any other natural tight woven fabric will also work. I bought 1m of this dark green large floral print on a white background (Torgerd), isn’t it pretty? I like that they have care instructions on all of their fabrics and include the designer’s thoughts, which makes it seem more personal.
“When I designed Filodendron, Torgerd, Jättelija and Vinter 2018 textiles, I found inspiration at a botanic garden in Stockholm. I strolled among the lush greenery and explored which medium to use– pencil, watercolour, gouache or ink? This time I felt like painting. I wanted to create playfulness in the patterns – a flower here and a butterfly there, so there is always something new to discover. I hope you will use and love these textiles for a long time.” Designer Malin Gyllensvaan (Sweden)
You can make beeswax wraps with 2 different recipes, the first being simpler as you only need beeswax while the second is a mixture of beeswax, jojoba oil and pine resin. As this was my first time making these I wanted to know that these would do the trick before investing more money into the project, whilst also being able to use up what I already had to hand.
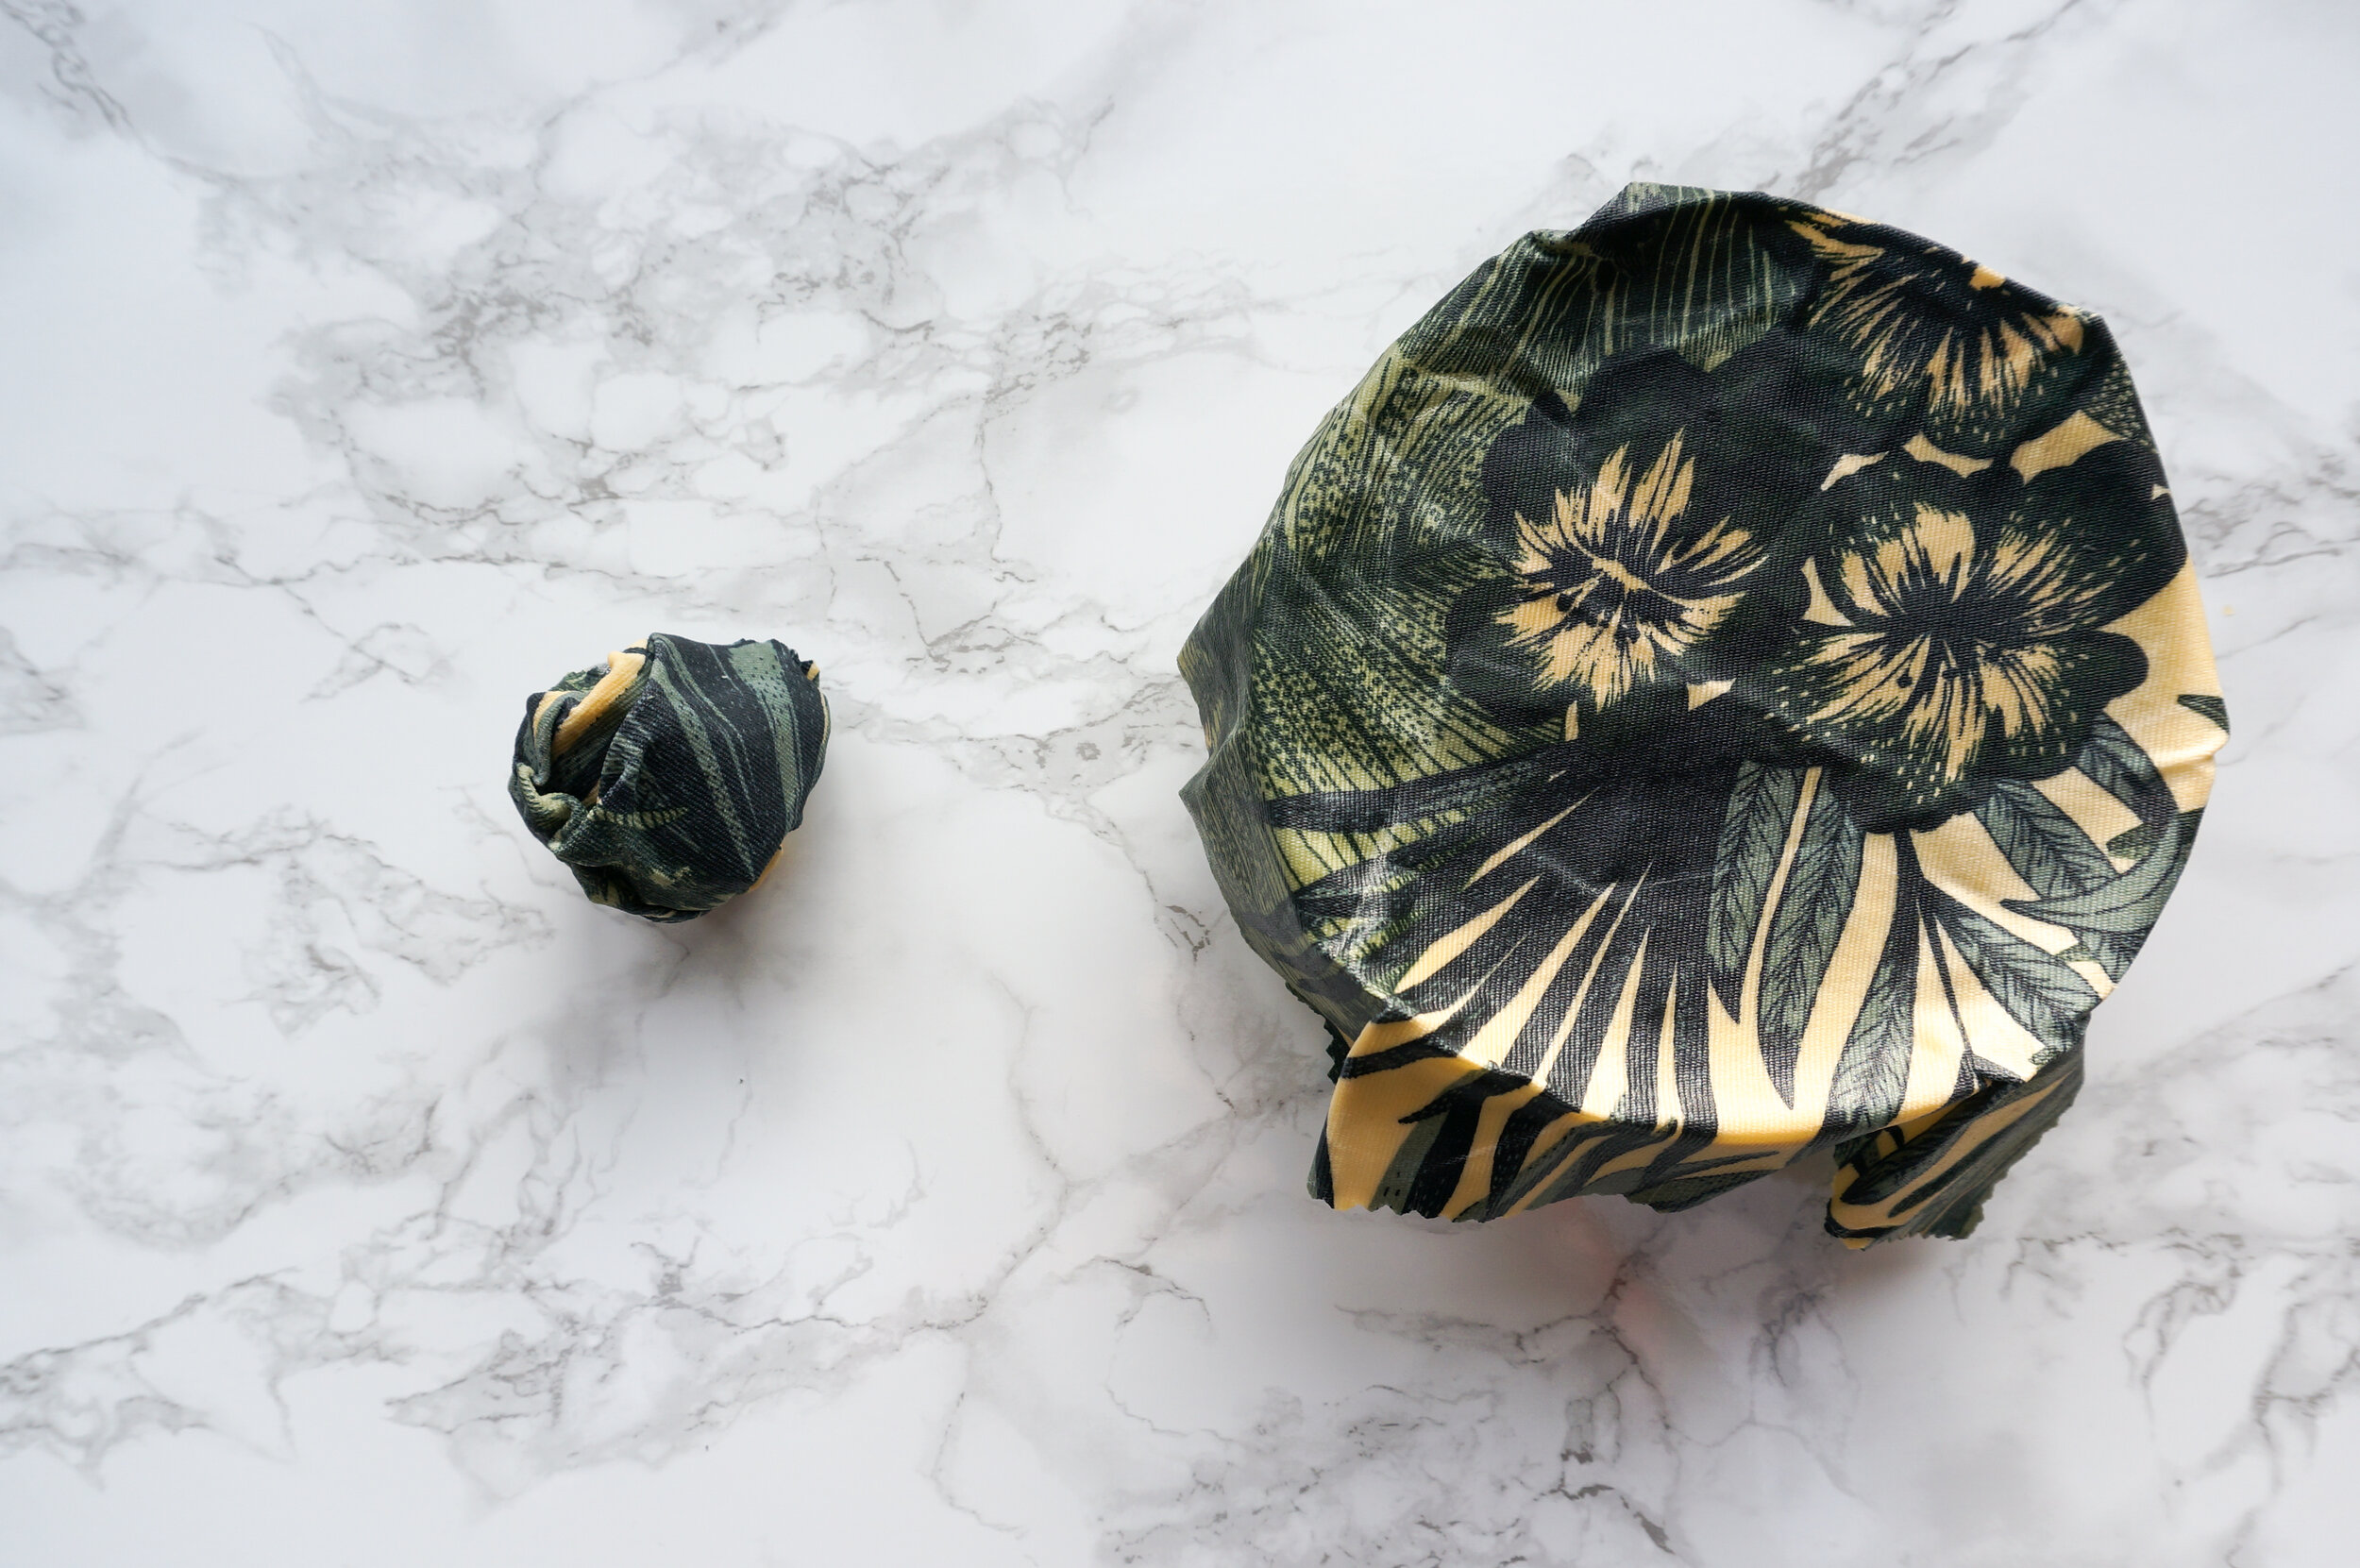
For the size of the wraps, I placed various types of crockery onto the back of my pre-washed fabrics and added a ruler width to the edge of the plate or bowl to create my squares. You don’t want your wrap to be exactly the same size as the item you are covering and having that extra bit will help you mould your wrap over the edge. To anyone who I’ve gifted these wraps to and they don’t fit your bowl, well I made these all to fit my bowls!
Let’s get started
To melt the wax, I tried two different methods; the first was to use my iron and the second was the oven. With my iron, I essentially sandwiched my fabric and wax pellets between 2 sheets of baking paper and ironed slowly on top. I have to say now, this method is truly not worth it. I ended up with plenty of uneven melted areas and when I went to spread my melted wax to the edges by the time I peeled back my top layer it had already cooled. For the oven, I used the following steps:
Preheat your oven on the lowest setting. If you are comfortable with your oven you can even use something higher like 160C.
Line your baking tray with greaseproof/baking paper and lay your fabric down. It doesn’t matter which side lies on the tray as the fabric gets quite saturated in wax. Sprinkle the fabric with beeswax beads or flakes, I made sure that I put a little extra for the edges as I also wanted to seal any loose threads. Put it in the oven and let it melt, remember if you’ve put the temperature to 160C then the wax melts in a few minutes.
Once it looks like all the wax has melted, use a brush, I bought mine from Cowlie and Wilcox for £1, and sweep the wax around, ensuring that everything has been saturated.
If your fabric is too big for your baking tray, as I found, then you could try the steps I took: once I was sure that my piece was fully saturated I carefully folded over part of my fabric, enough so that I can pull the rest of the fabric onto the tray to get waxed.
Then slowly peel the fabric off the tray and wave it around for a couple of seconds to help the wax harden. You can then hang your fabric on a rack to wait for it to fully dry.
Then do it again on a new piece of fabric.
Eventually you’ll have a bunch of wax-coated fabrics that are all bendy and durable.
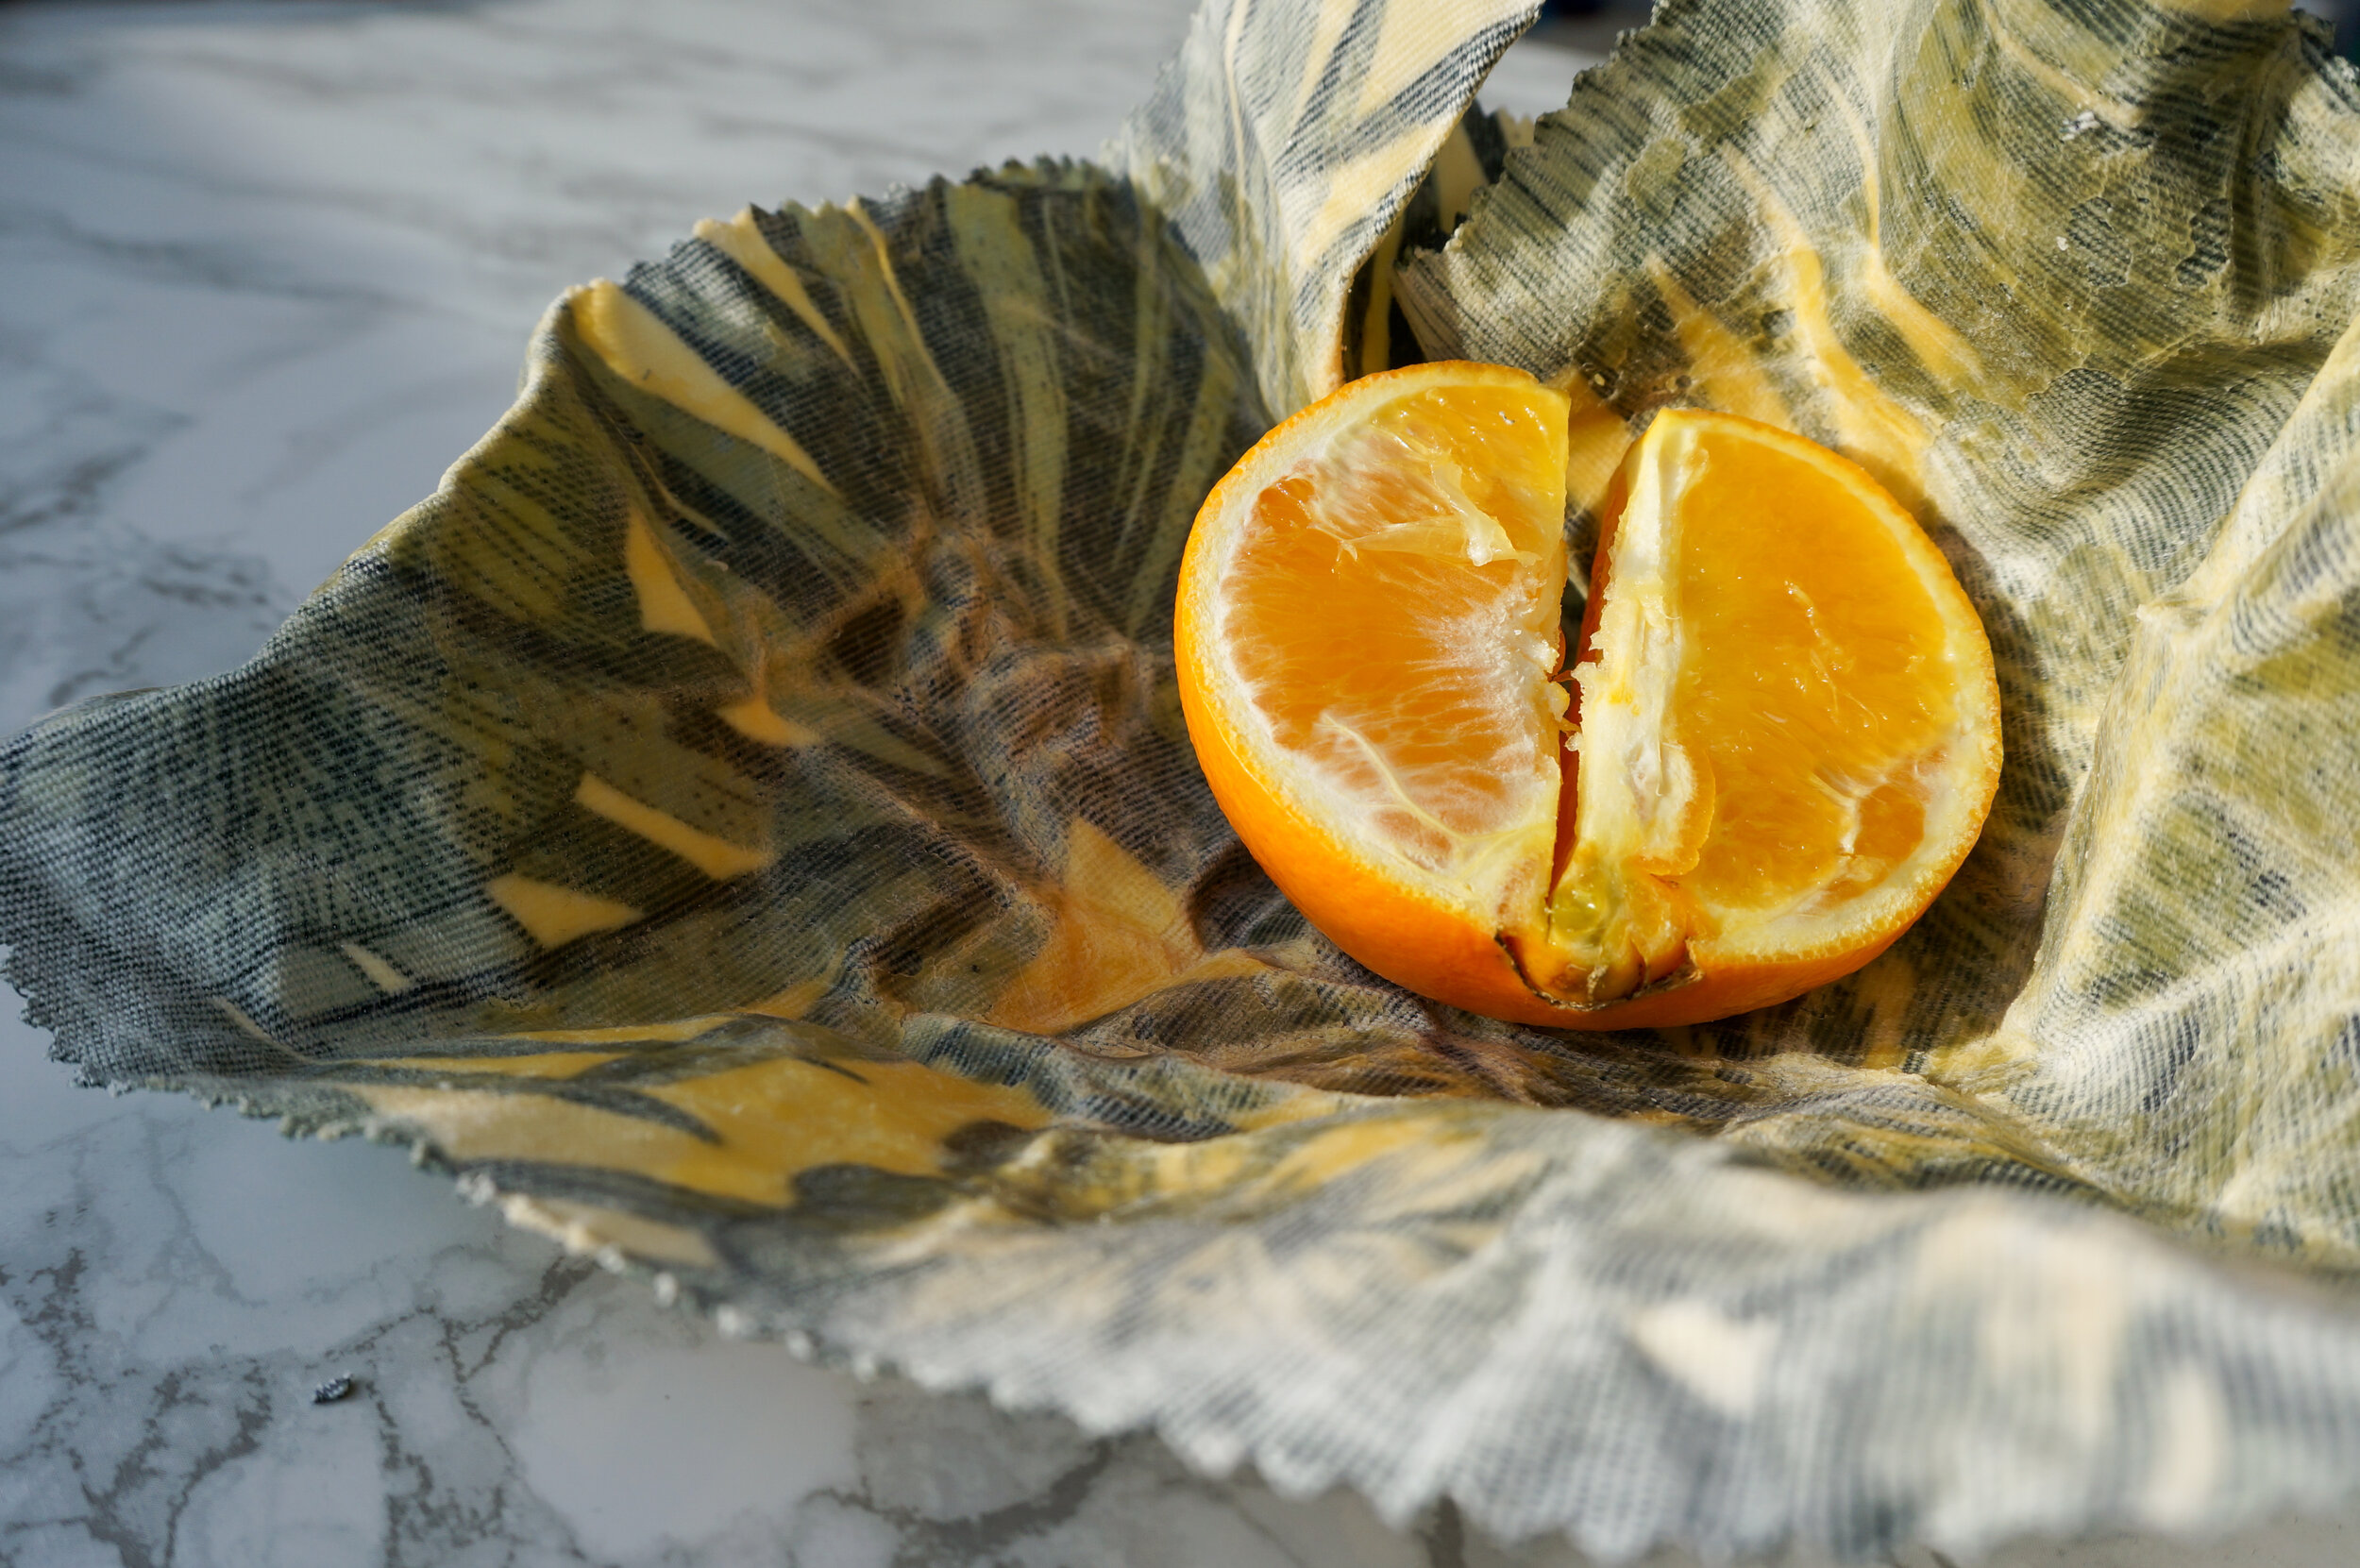
To care for your wraps, when they get dirty just use some washing up soap and cold to lukewarm water; any hotter and you will start melting the wax off. When you aren’t using them, store them in a dry and cool place.
You can use them for essentially anything, but would strongly recommend not using them on raw meat or fish. If you need them to hold a little tighter on bowls then you can use a piece of string or even an elastic band.
Is it worthwhile?
I would say yes, as the only thing that I had to buy was a paintbrush and some cotton fabric but even so if you had to buy all the materials it would still be a lot cheaper than what is currently on the market. I’m seeing a lot of these from Etsy and a few on Amazon but they start near £10. These are super fun and quick to make, I think that this would be a great way to use up those fabric scraps too!

