

Pattern Review: McCalls M6107
Cast yourselves back to 2016. My brother, in a room full of makers, declared to me that making theatre hats must be easy stuff when I didn't have time to make him one for Christmas. Every maker reading will be pleased to know that he received a good verbal bollocking about how people of the world under-appreciate those who do make things.
What he really meant was that he thought creating theatre caps would be within my sewing skill range, as I had done quite a few garments over the years, and if not then I could find it fun to take it up as a challenge. What he didn’t realise was that I had been making garments from patterns and then hacking them to pieces, keeping the bits that I liked and discarding the bits that I wasn’t keen on.

Front cover of McCalls M6107
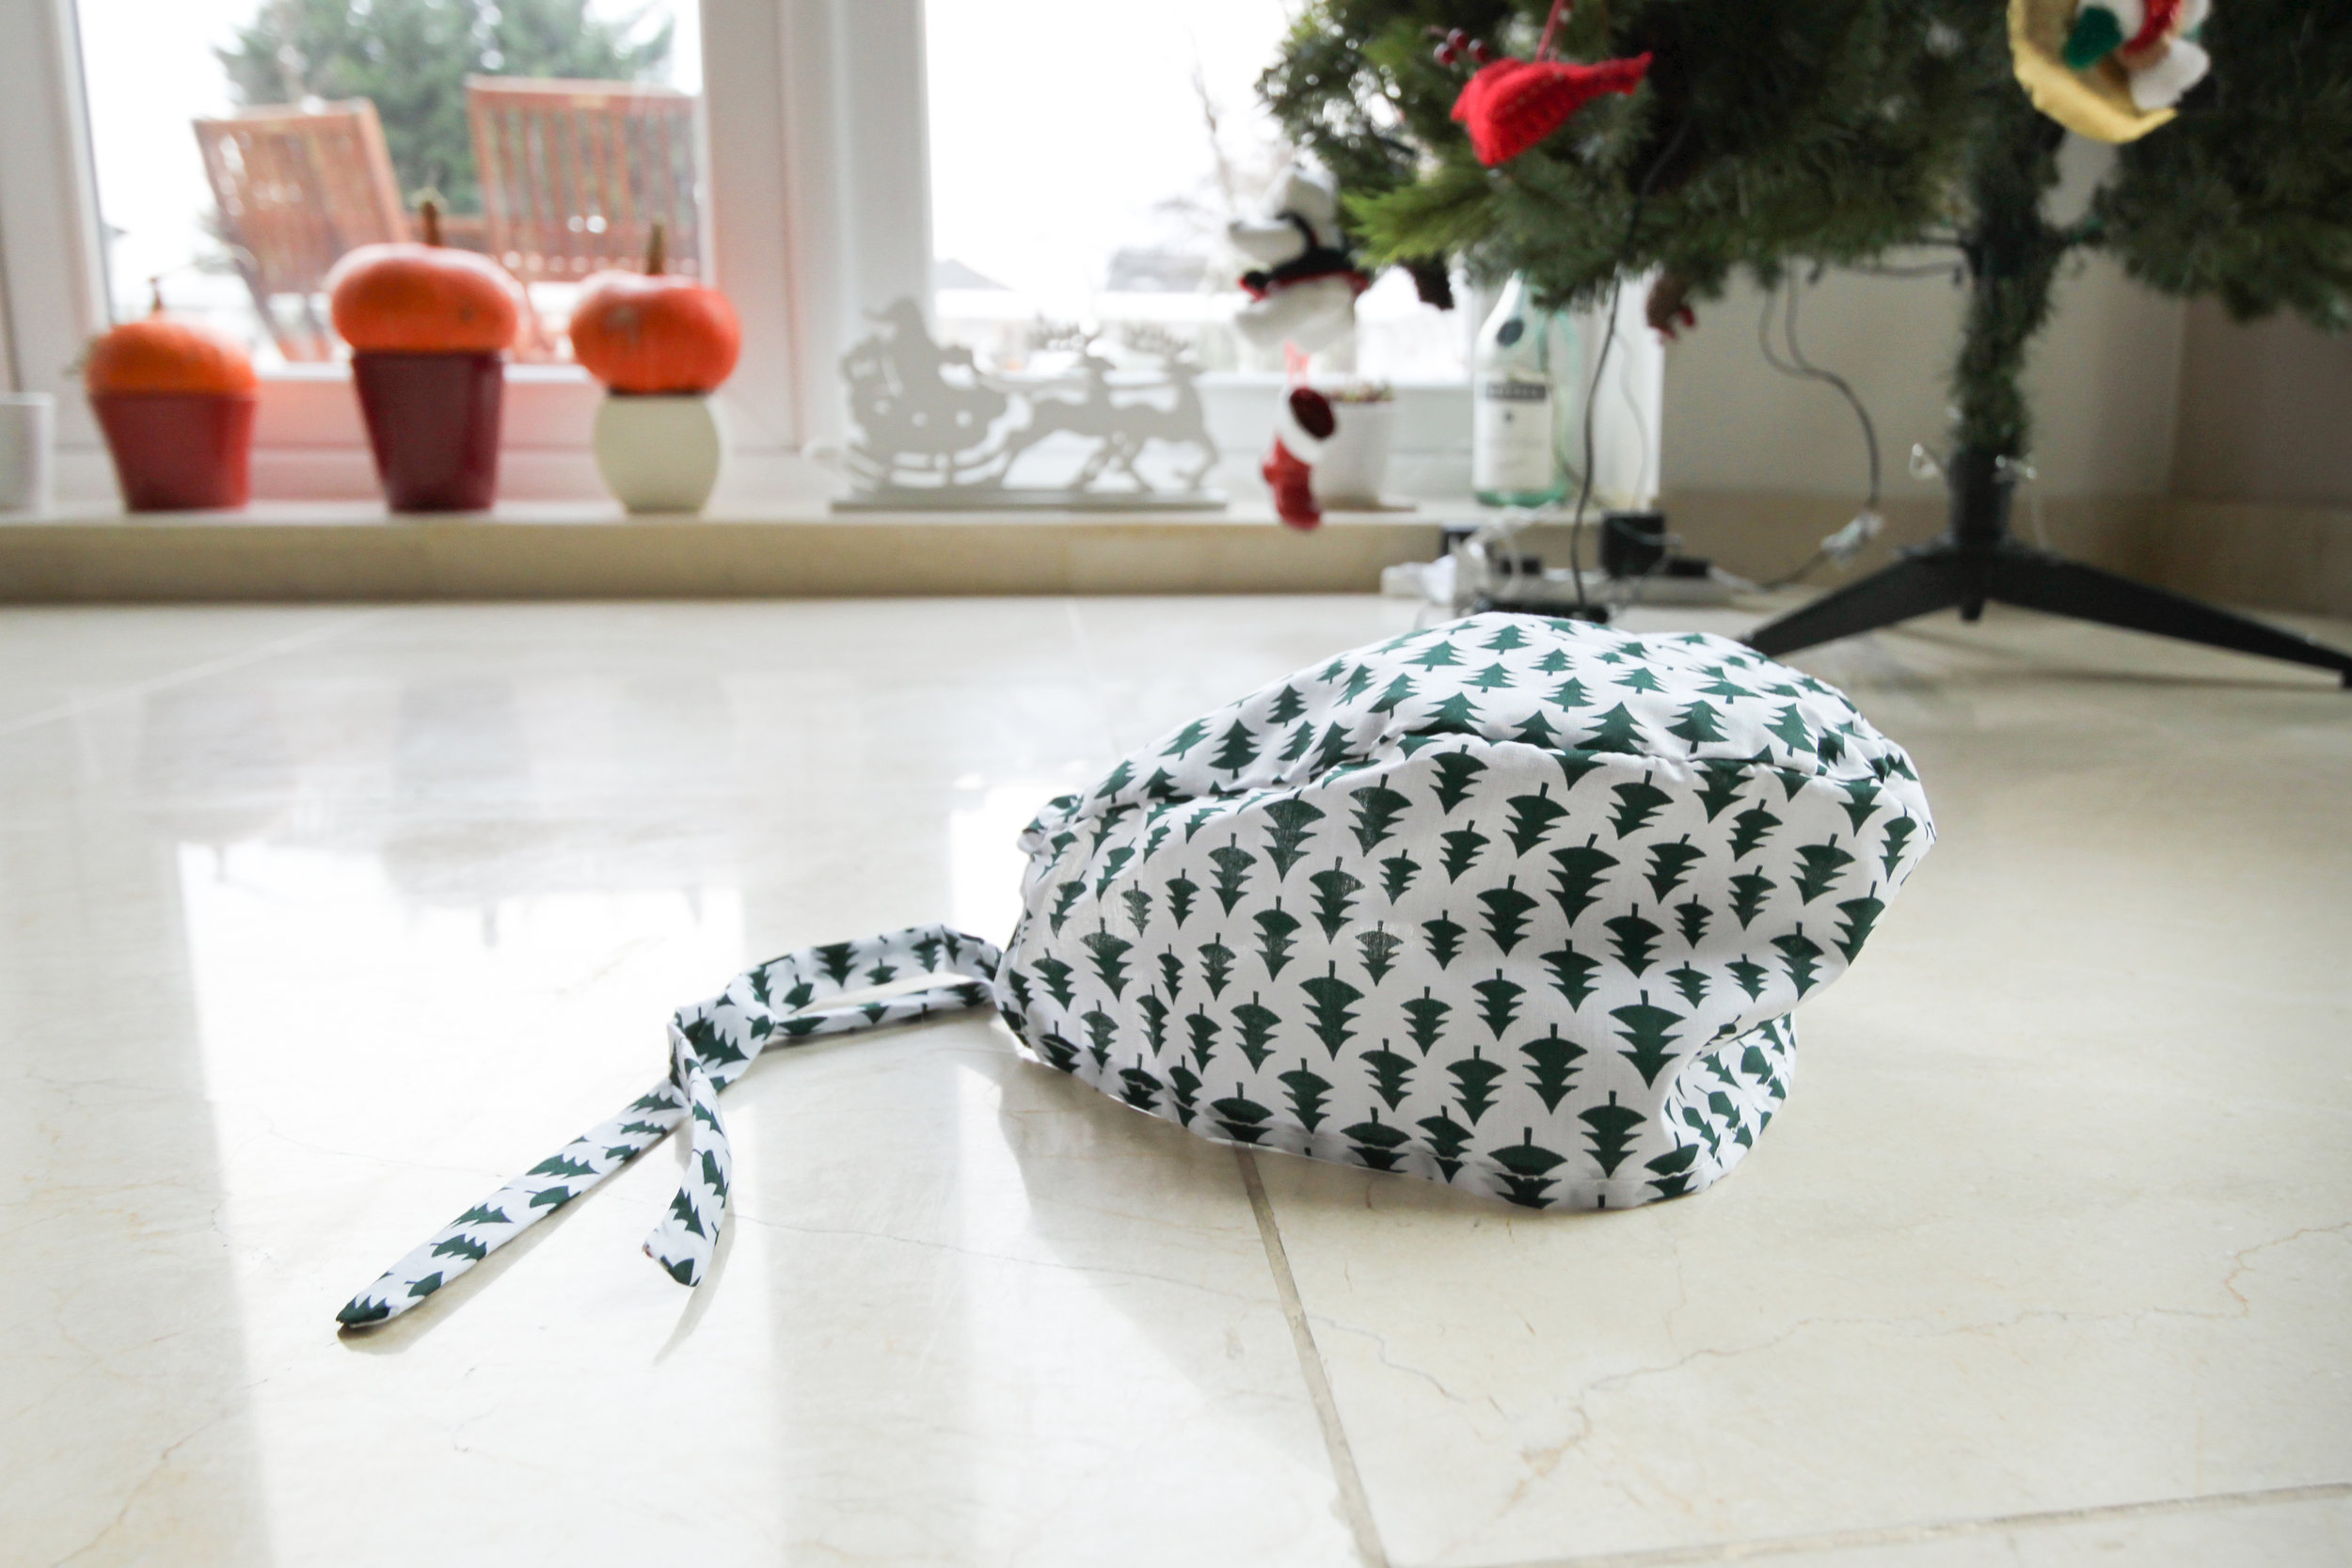
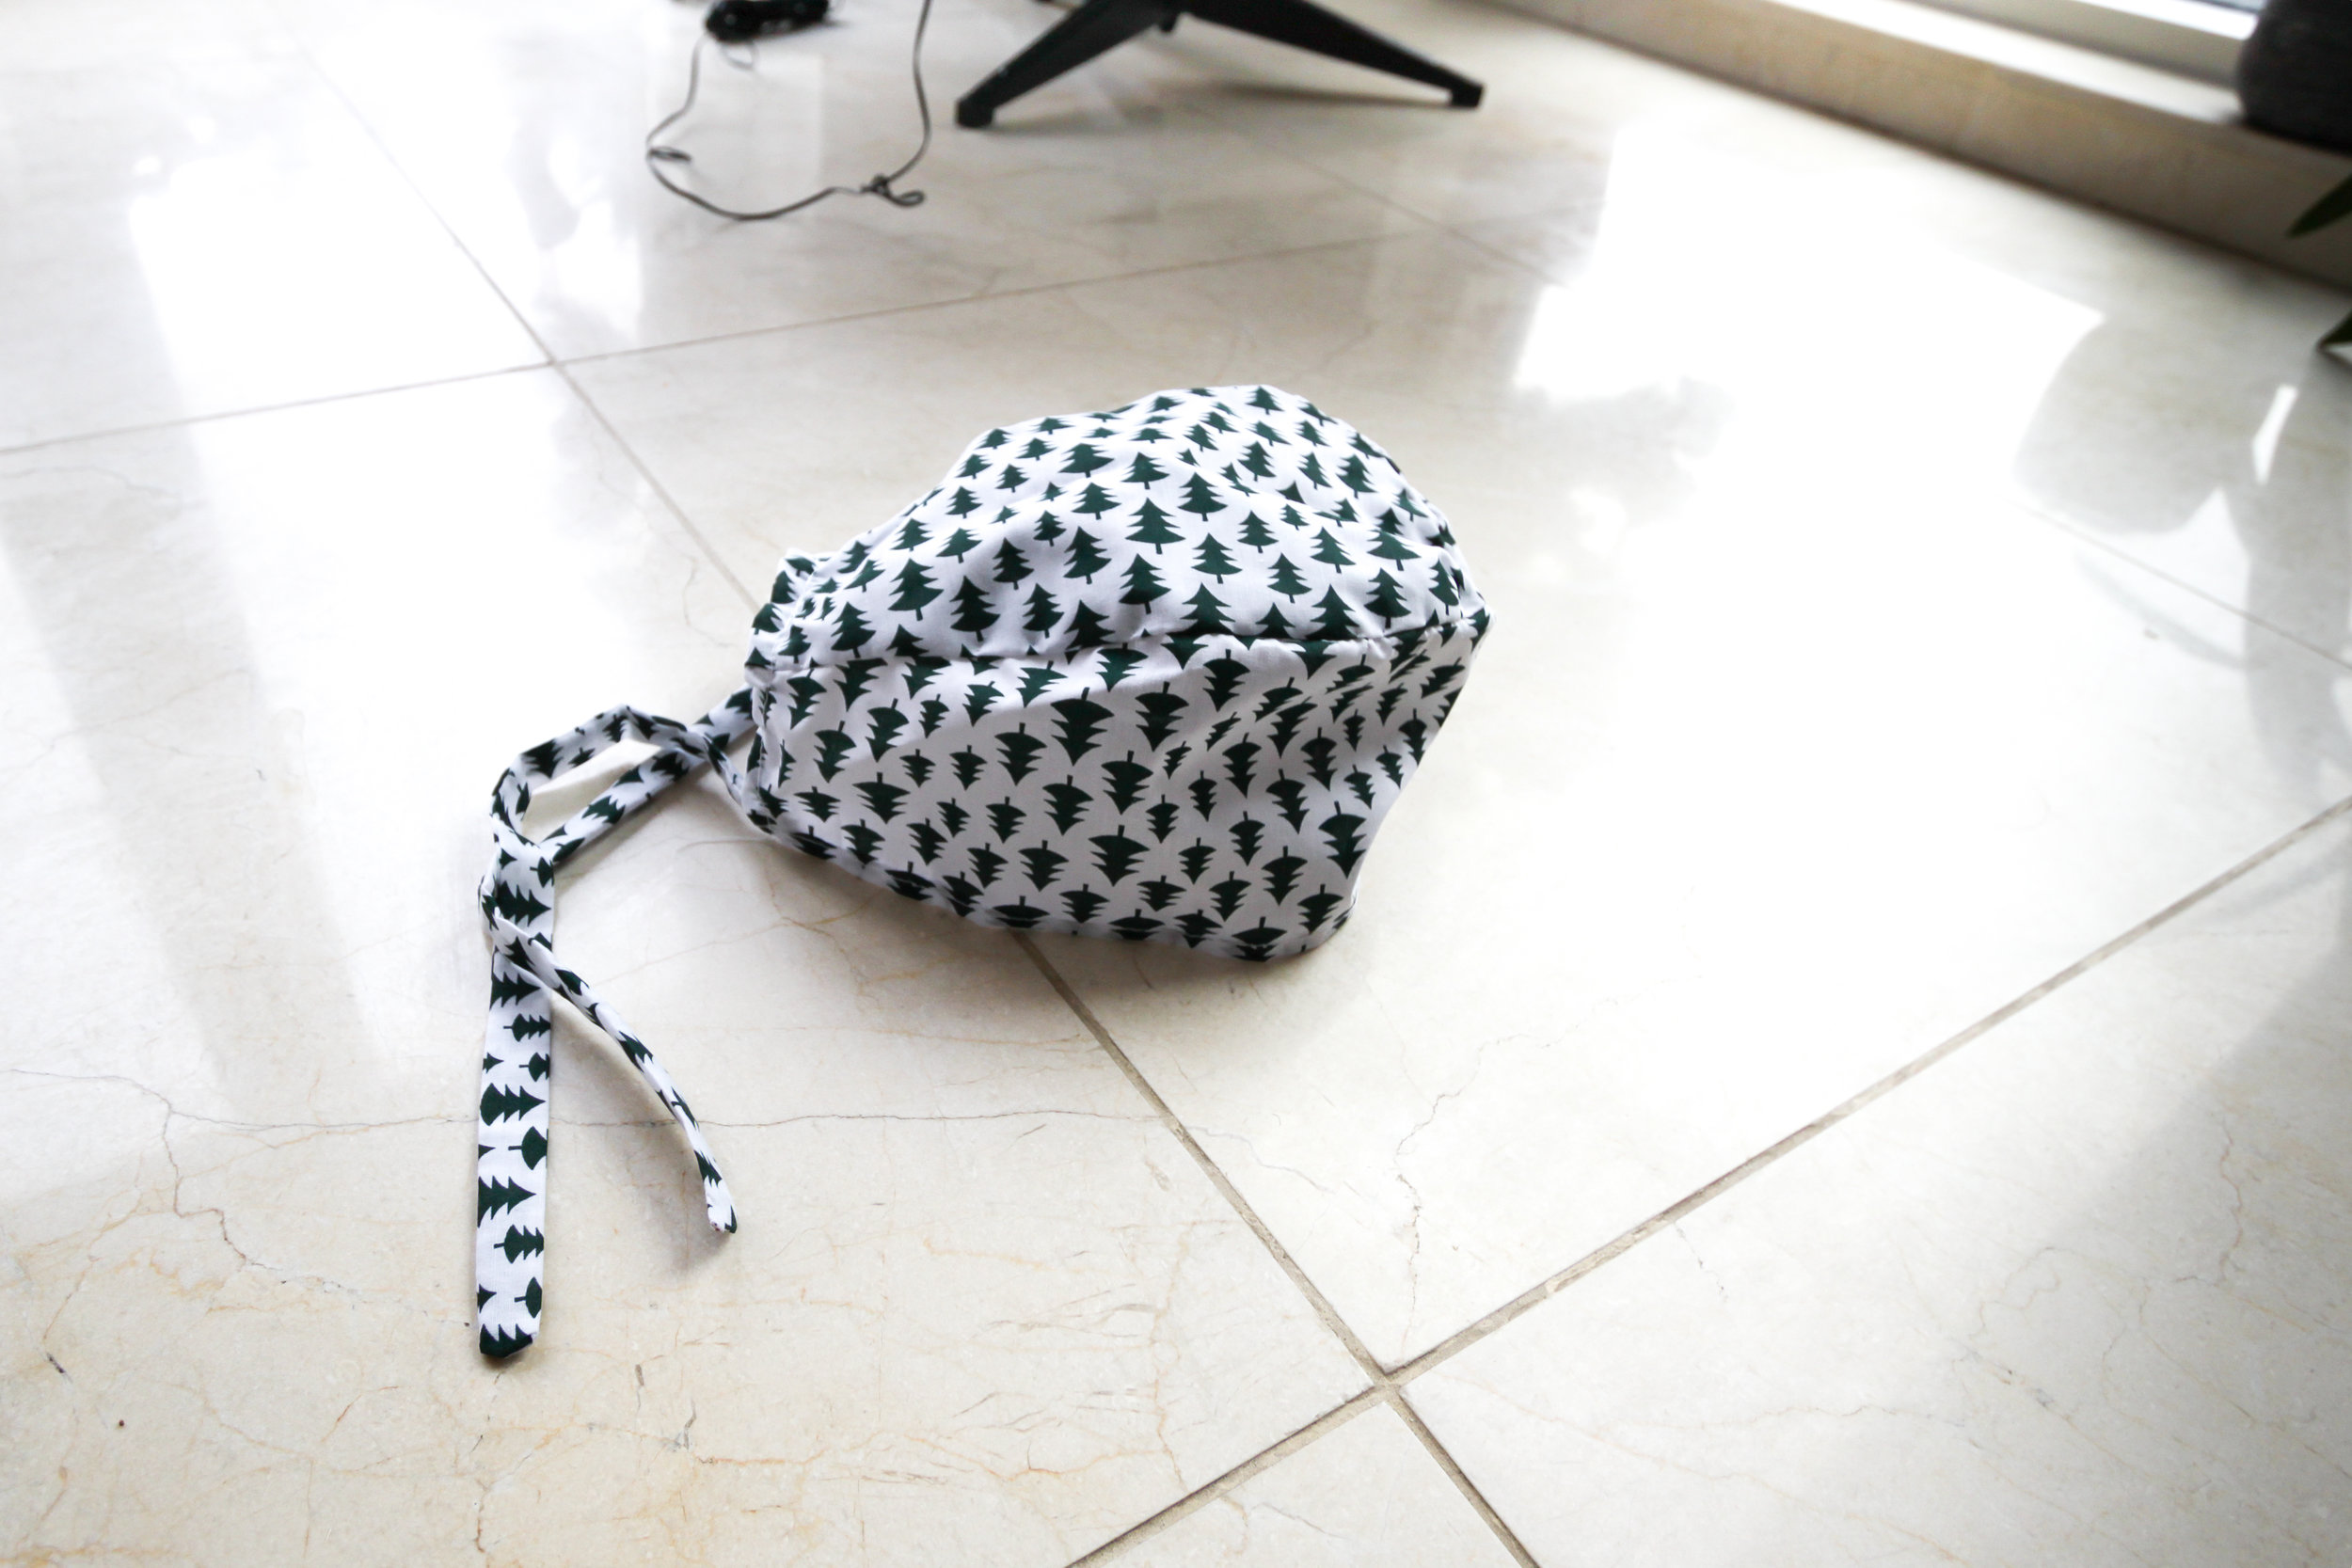
So last year I went on a search for a pattern for theatre caps. I didn’t realise that the pattern I had bought would also come with male and female versions of a lab coat, dress top, pull-on trousers, hats and a tie belt. I won’t mention this to him, but perhaps over the next few years I can make him a whole wardrobe of scrub clothes. I don’t think he is going to change his profession in a while. Anyway, I also wanted to troll him with the idea that if I was going to make one or two caps then they were going to be seasonal wears. The pattern suggests cotton and cotton blends as the fabrics, and since Halloween was just passing at the time of fabric buying, I thought I could make a patterned version and a plain version. The pattern required 0.4m (½ yardage) of material but I always buy a little extra just to be on the safe side. I ended up with a white skull on black print, dark green trees on white print, and plain dark navy and dark green. The green was a bit of a disappointment as it was much lighter than I had anticipated. Oh well, sometimes that’s what you get for buying online.
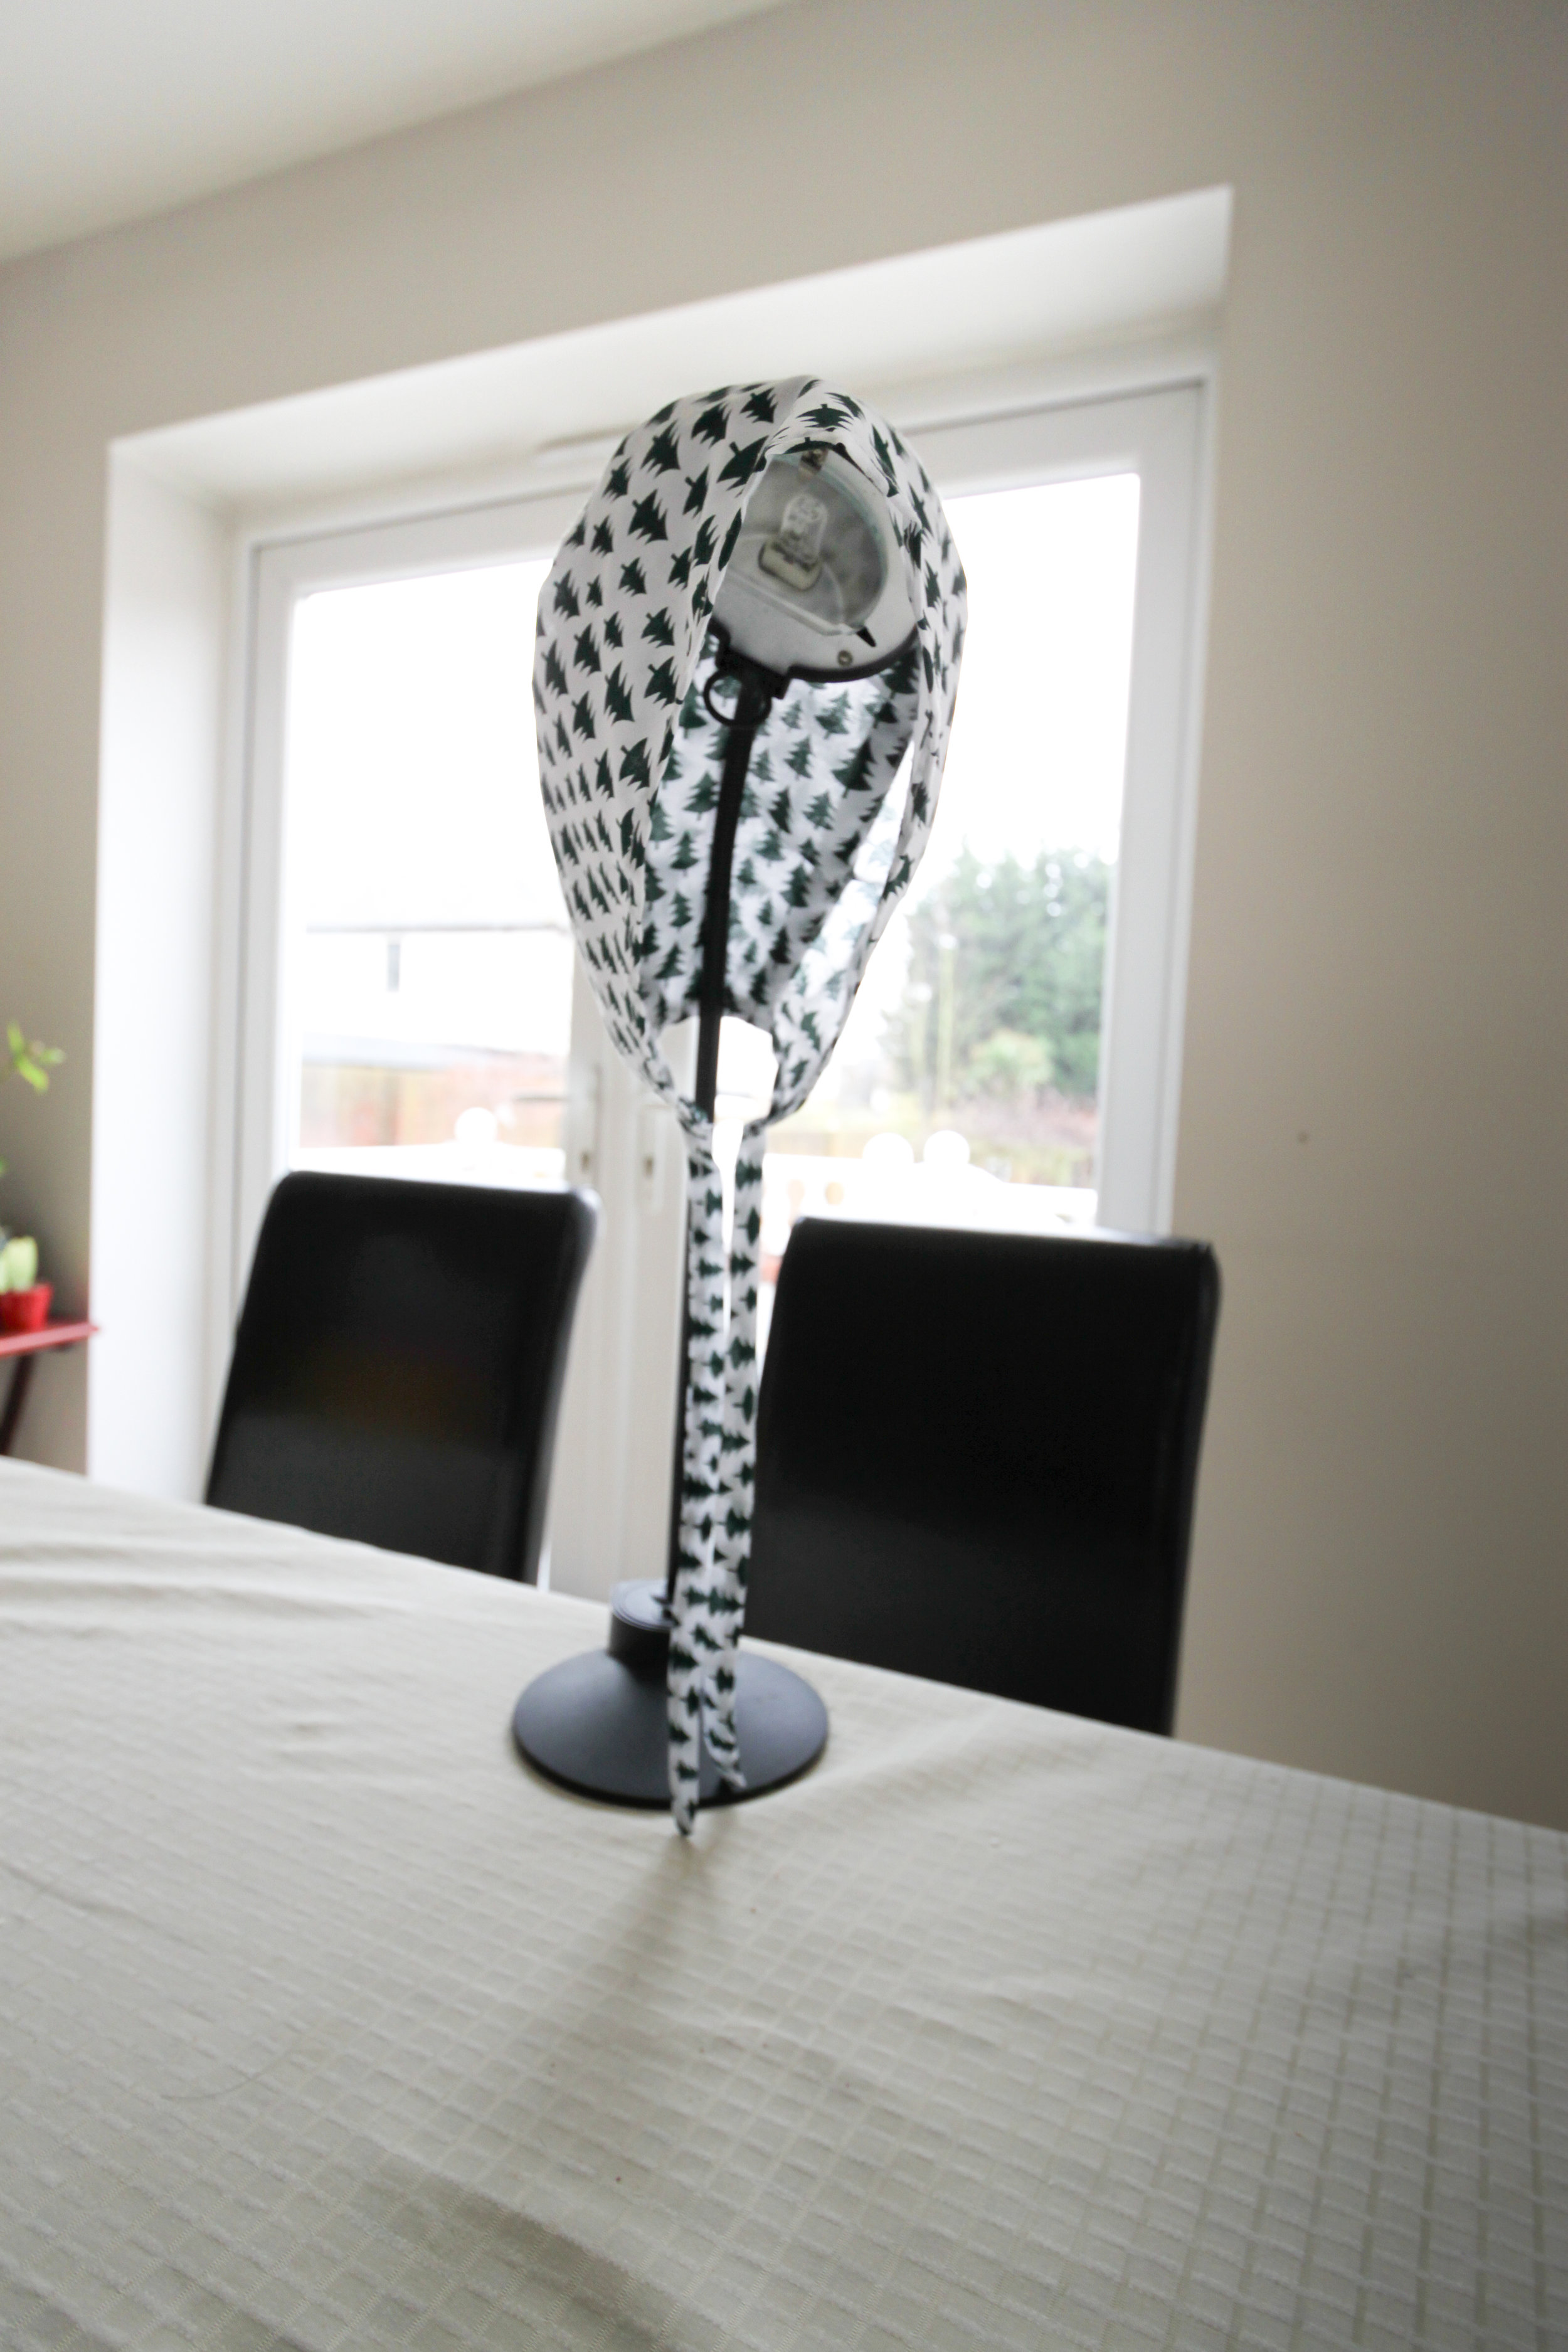
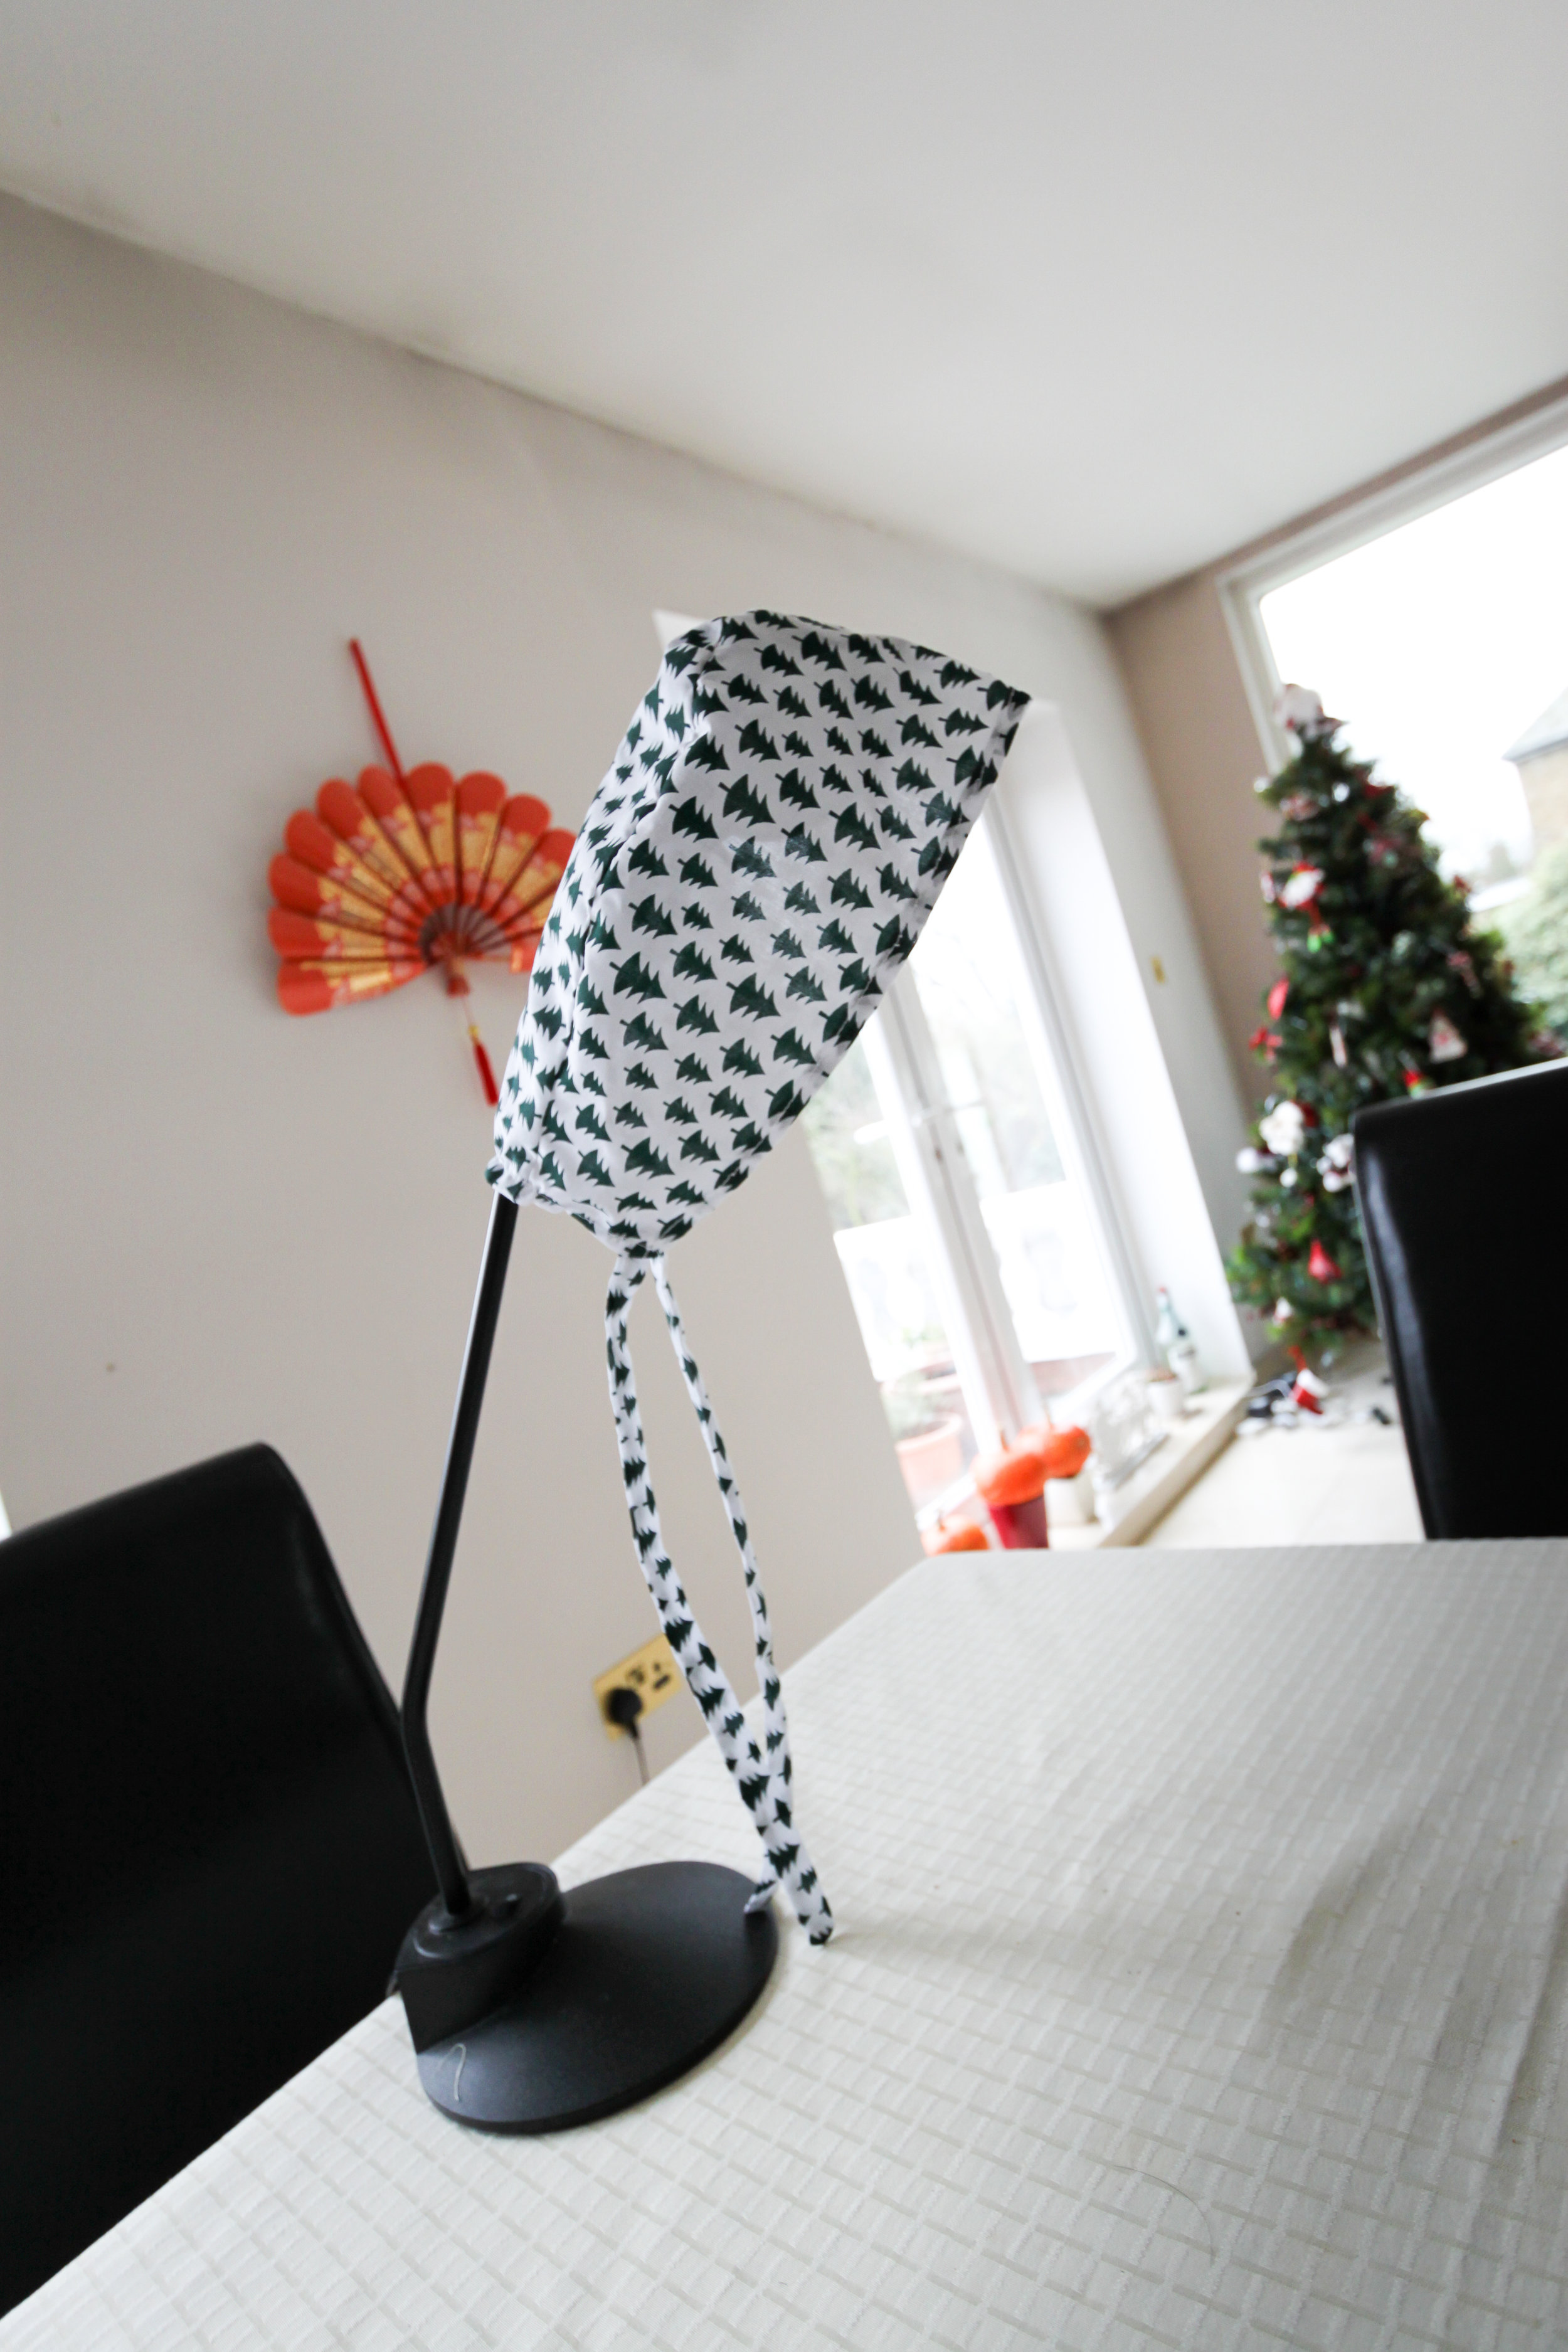
The pattern itself wasn’t difficult and thanks to the knowledge and skills I gained from attending a few sewing courses over the last year I was confident about the structure and finish of the hat. What I hadn’t realised was that in order to complete the hat I needed to hand-stitch the main top part to the shell of the hat. I can now say that I’m not a fan of hand sewing by any means and that it would have been more secure if I had just sewn it on with the machine, which would have ruined the finish but at least there wouldn’t have been any troubles with the stitching a couple of washes down the line. Another thing that I found difficult was turning the long thin ties inside out; on both hats my mother helped me by doing them. Yes you read correctly: the second version of the hat I made in a record make time of three hours from cutting the pattern to finishing, but I did ignore most of the instructions given. I absolutely did not want to do any hand sewing in the end and opted to sandwich the headband between the two crown pieces and then pull it back inside out. Thankfully, I was making this version with just the dark blue fabric, so I really didn’t have to worry about the design on the back or front sides. I did struggle a little when pinning the front of the crown, as it curves the most, but apart from that, perfection!
I’m pleased with how both versions turned out, but perhaps a little more with the second, as I had learned that technique when making the Alex Shirtdress from Sew Over It. The hat itself was a one-size-fits-all and even though I say my brother’s head is big the cap was still perhaps a finger or two bigger in size. The pattern was clearly written and easy to follow but I would definitely not want to do the hand sewing part again.

