

Third time's a charm with Ogden Cami
I am always really late to jump on new sewing patterns and, in true fashion, I write this as the heavens have opened and we have already bid our summer heat-wave goodbye. But not to be put off, today I’m trying my hand at the Odgen Cami by True Bias. This sewing pattern comes highly recommended by everyone who has ever made it since its release in 2016. If patterns could win the ‘most made’ award then this would win hands down, as it constantly graces social media in a wide variety of beautiful fabrics and a range of hacks.
I love to use up every scrap of material possible before moving on to the next fabric pile, so for my first Odgen Cami I will be using leftover fabric from my previous make: the Seamwork Mojave dress. Even as I took out what was left of the fabric though I was skeptical about whether I could actually get a cami out of it. In the end, because I really wanted to make the full pattern, I dug through my fabric stash to find another leftover piece of fabric that I had been clinging onto, and squeezed out enough just for the lining.
That for me is when it all went wrong. The fabrics were so different from each other, in weight, composition, melting temperatures, and because I was trying to fit the pattern from leftovers I’m pretty sure nothing was cut on the grainline, which caused unexpected droopage in all areas. I realised a little too late that sewing up two very different fabrics from scraps was not my forte and caused large amounts of stress.
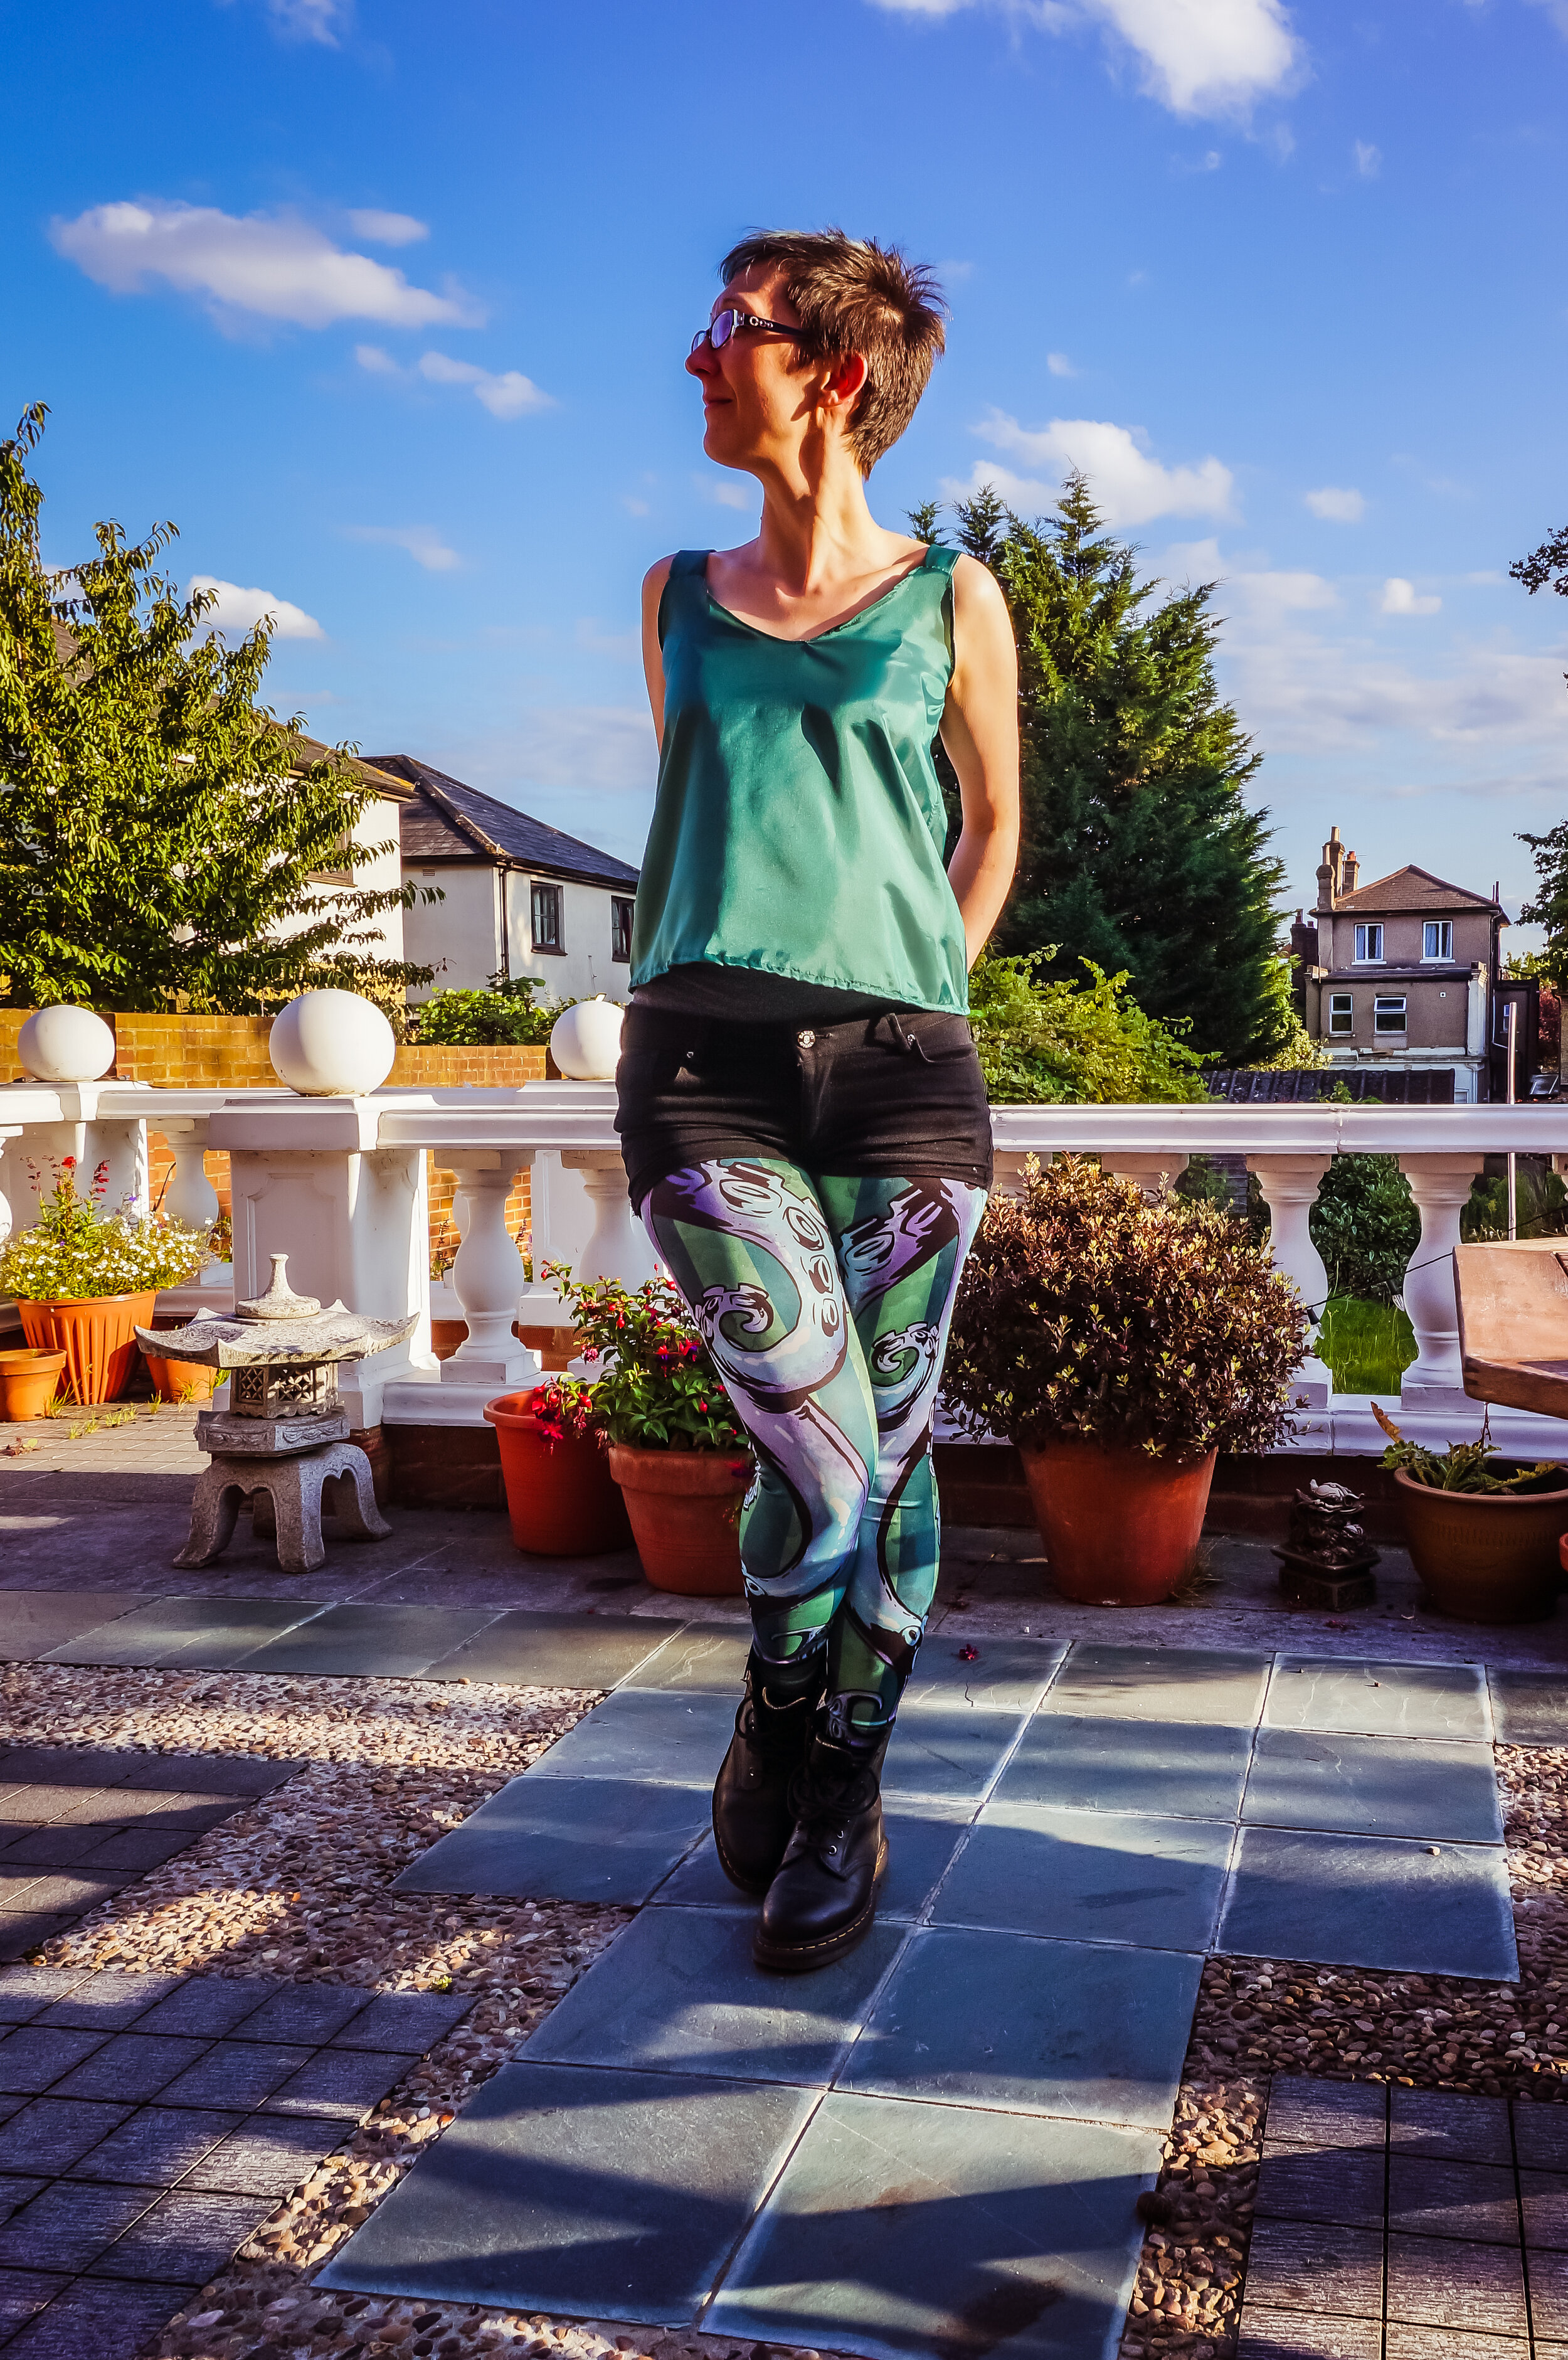
I made a size 2 and the finished garment was quite generous in size. I also noted a lot of fabric bulk where the armhole is, even though I had trimmed the seam allowance as close to my stitch line as possible with my pinking shears.
I made the first version of the Odgen Cami all the way back in August 2018, but couldn’t face writing up another project with so many flaws and disappointments. So I just left it alone for months on end. One year on though and I feel my skills and knowledge have improved enough to take on the Ogden Cami once more. This time around I will be using fabric from my stash where I know that I have sufficient quantity, so no need for pattern Tetris. From previous projects I know that going slow is key, but this time I will be doing two versions, one that sticks strictly to the pattern using size 0 without the lining and the other with the lining and any additional fittings. The version without the lining will be my wearable toile and the corrected fitted version will hopefully be a success.
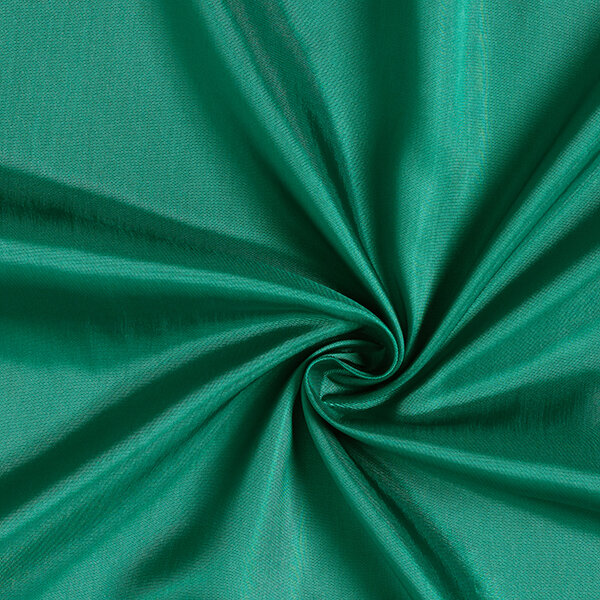
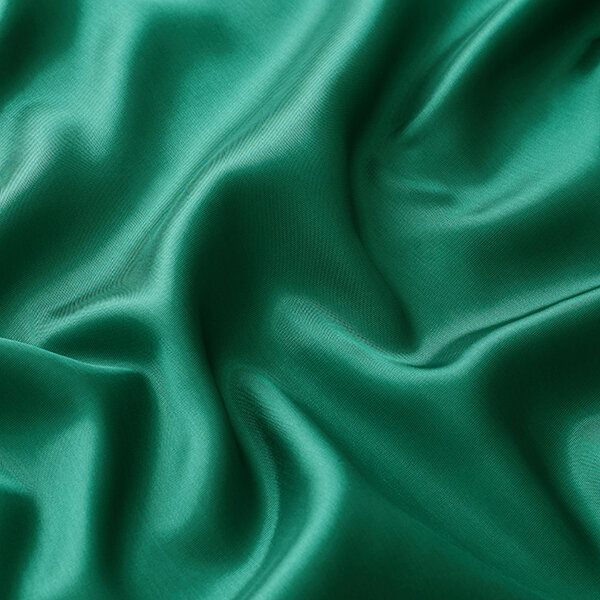
Without the lining I’ve had to adjust the thickness of the straps; using the full width of the pattern piece, instead of cutting 2 pieces I cut 4. This version was really straight forward with no issues. The fabric used was quite slippery and any mistakes left rather big holes despite using a fine needle, so there was no going back. As I wasn’t adding the lining I finished the neckline and armholes off by overlocking and then folding over once and sewing the edge down. I do quite like how you can see the edge of the white overlocking thread, giving that faux lace appeal, but I wouldn’t do it that way again. I could only think that I had previously bought this to be used as a lining of some description, as it is smooth to the touch, soft, pliable, and light enough in weight not to interfere in any way with the hang of the garment fabric. But using it by itself was a challenge. I think this type of fabric is too fine for my liking and will do my best to avoid using again at my current level.


I did a lot of research before taking on the project again. I was inspired by Fiona (Diary of a Chainstitcher) who wrote about her many versions of the pattern, Lauren’s (Guthrie & Ghani) post showing off how versatile Odgen could be and Katie’s (What Katie Sews) alternative construction post.
This pattern is designed for a C-cup, which I most decidedly am not, and I think this was my issue with how loose it all sat. Most of the camisole tops that I own have more shape than this pattern, but then again 90% of them also come with a built-in bra feature with the addition of bra cups and an elastic band on the bottom of the lining.

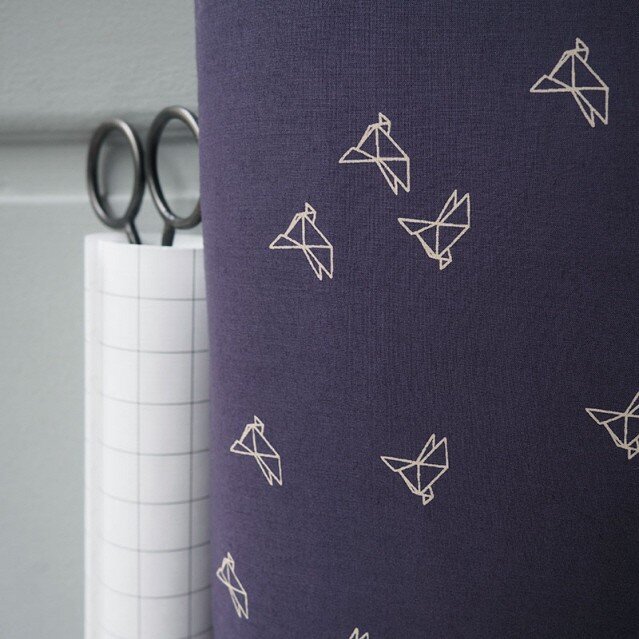
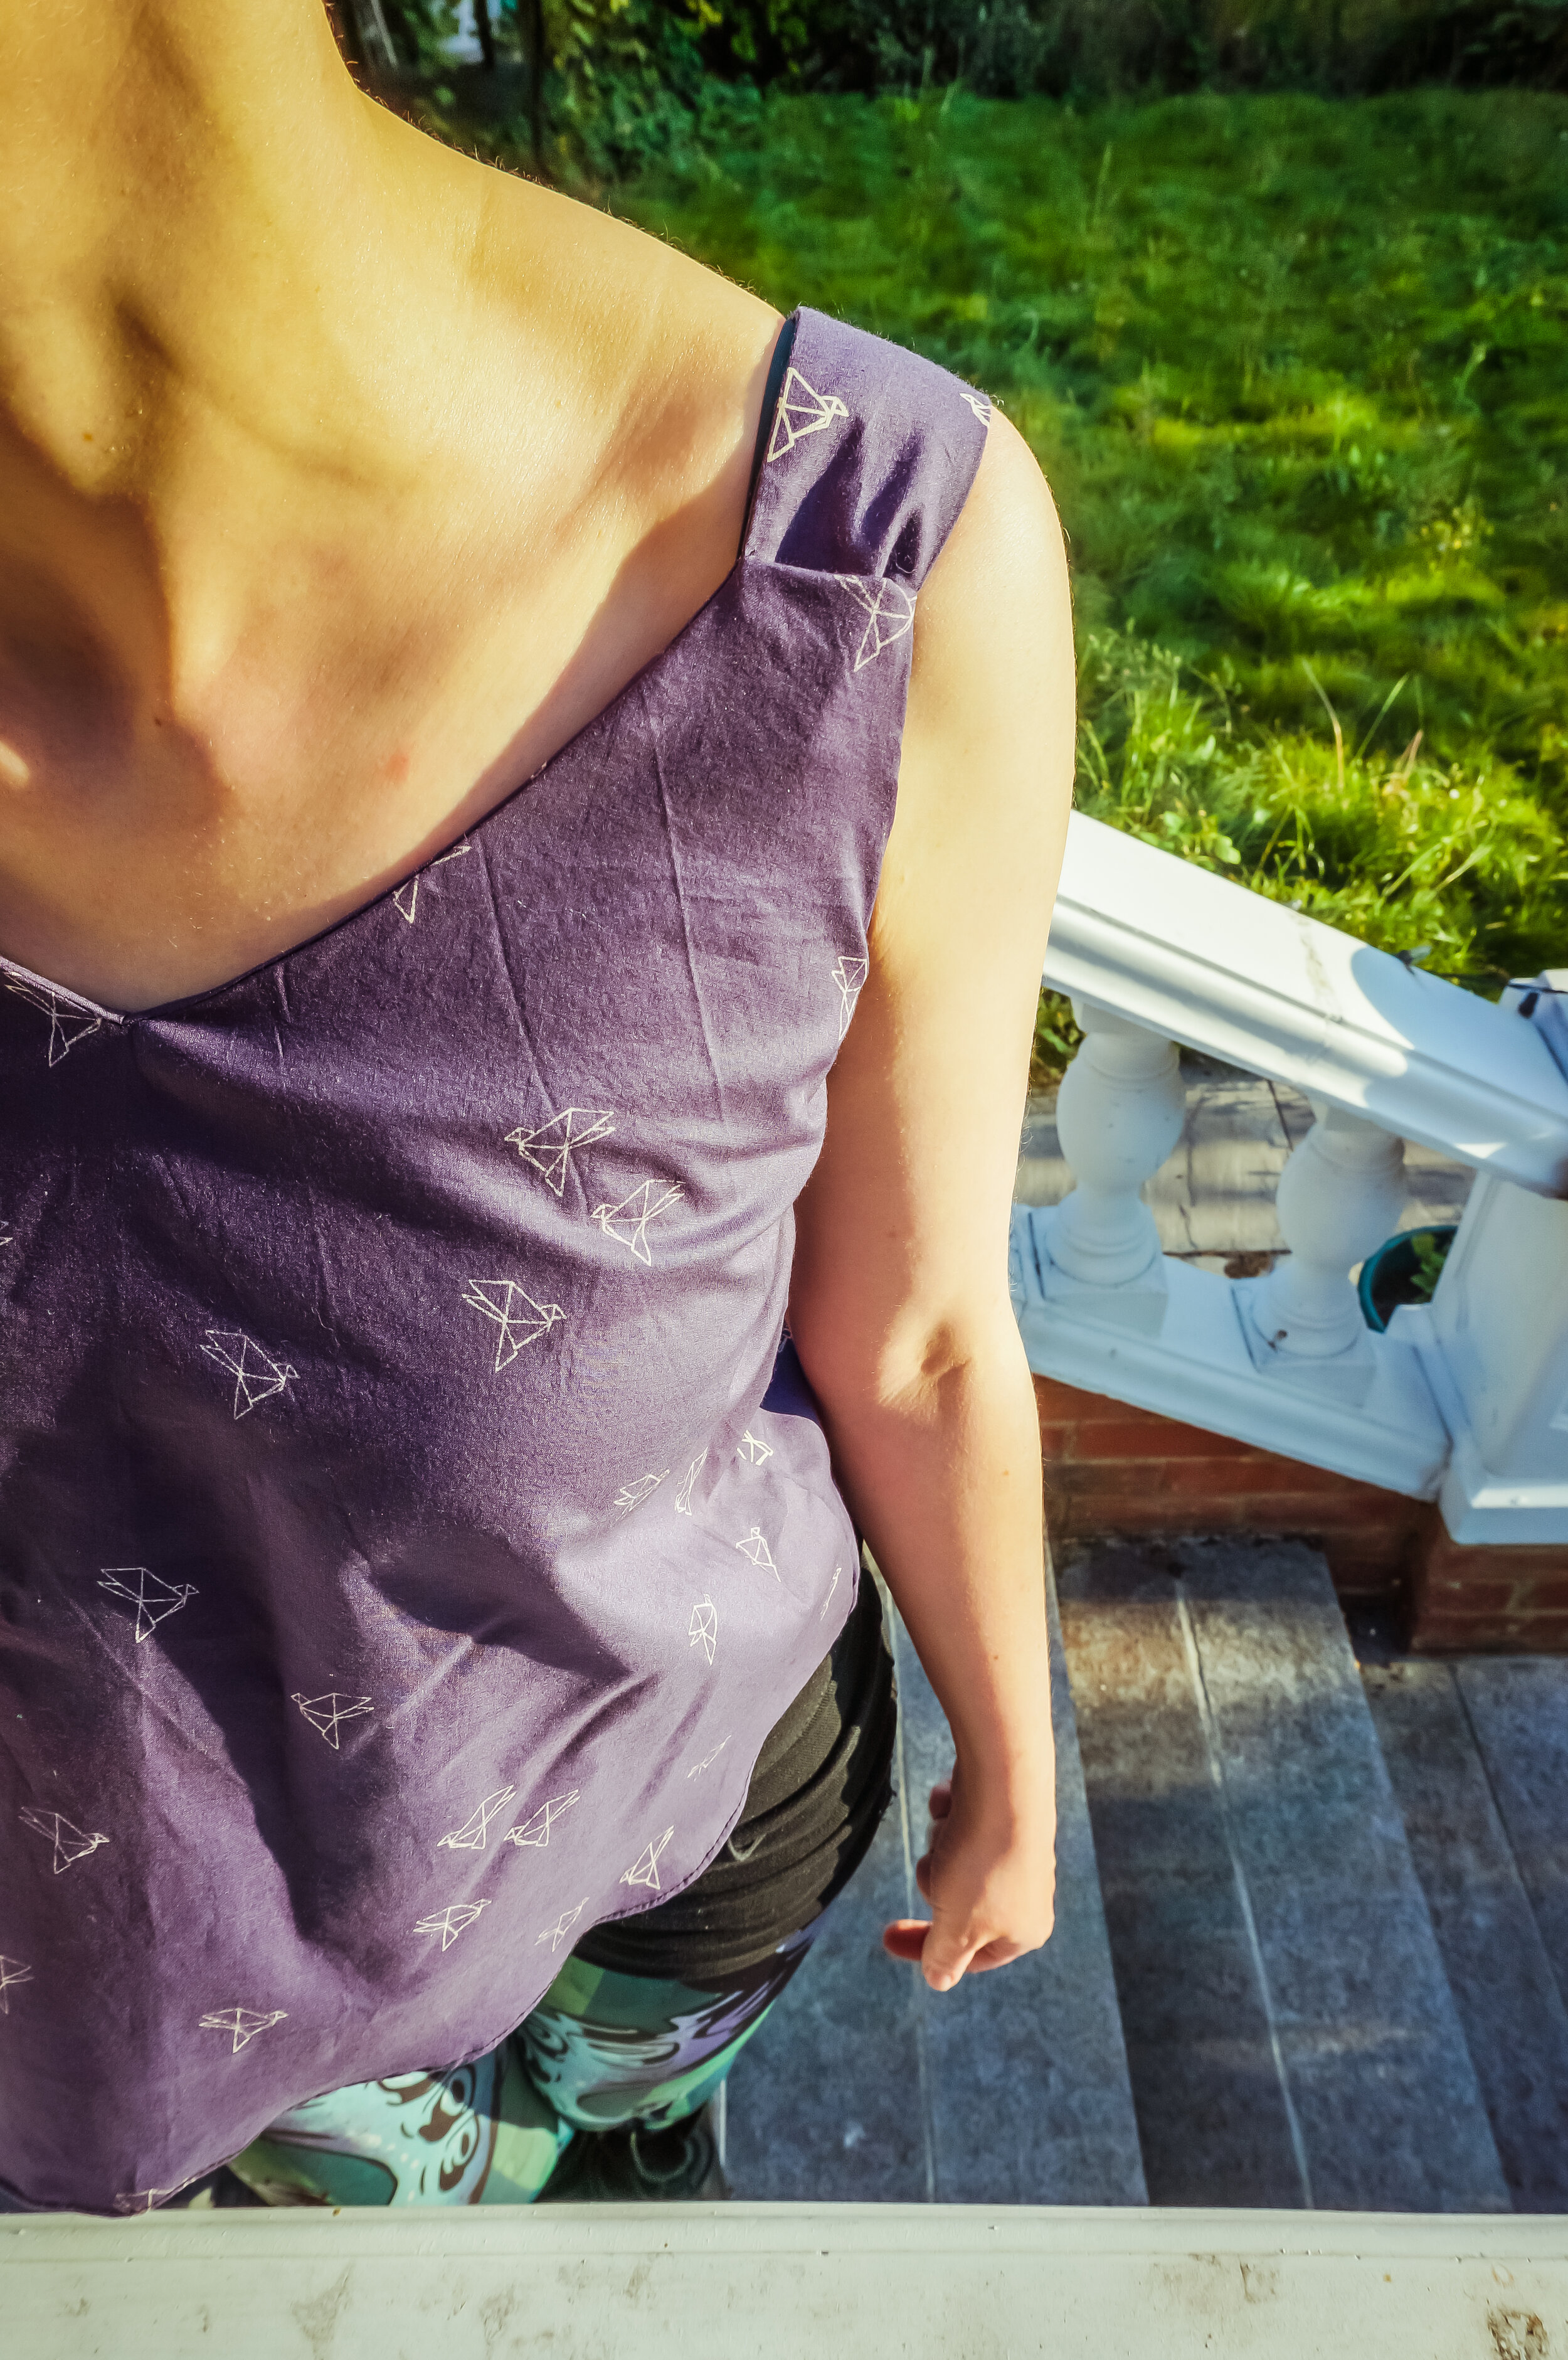
For my second version, I used my Atelier Brunette’s Bye Bye Birdie cotton lawn, another piece of fabric that I’ve held onto for so many years. In fact, it is one of the fabrics that I bought when I first met Perrine and Francine back in Sew Over It’s Clapham branch. I really love this cotton lawn as it is very soft, light and really easy to sew, with it’s flying white origami printed birds contrasting beautifully with its dark blue coloured base fabric. It will still give me the challenge of sewing with a light fabric, but won’t be as much stress as a slippery fabric would.
I started by making the straps wider by cutting two pieces in size 2 on the fold, overlocking as close to the raw edge as possible, leaving one short edge unsewn before trimming the seam allowance, diagonally clipping the corners as I find that this gives me crisp corners and turning my straps right side out. Carrying on, I ended up following Katie’s post instead of the original True Bias’s instructions because I had previously struggled with these, especially when it came to the more fiddly bits. However, I did notice some discrepancies in Kate’s instructions such as when she talks about joining the back pieces to the front pieces. She mentions that the back bodice should face right side down and the back facing piece should face right side up, but when following this step I ended up with the wrong sides of both back pieces. The instructions should have really been: Back bodice and back facing right sides facing down, sandwiching the straps from the front pieces. Fortunately enough for me Bye Bye Birdie fabric looks quite similar on both sides; the main difference is that on the right sides the origami birds are more solid and pronounced in their colour.

After thoughts
Now I've finished a more successful version I can truly say that by no means am I enamoured with this pattern and it is very unlikely that I would try again to make another. It is disappointing when you can’t make a pattern work, especially as it is such a loved pattern in the sewing community. With all projects there is a learning curve and I’m pleased to say that I’m really happy with the finishes on this garment. Despite my difficulties I did enjoy making the final garment more than the version I made a year ago, and I was able to see how to make the areas that I struggled with such as attaching the straps to the main bodices and understitching, which I only did on the back bodice and annoyingly shows up more than any other part that doesn’t have this additional step. I would recommend lengthening the straps by a few inches to prevent a tight armhole, especially if you think you will have problems attaching the straps to the bodices.

