
If you want a guarantee, buy a toaster
Or in this case, why not make one?
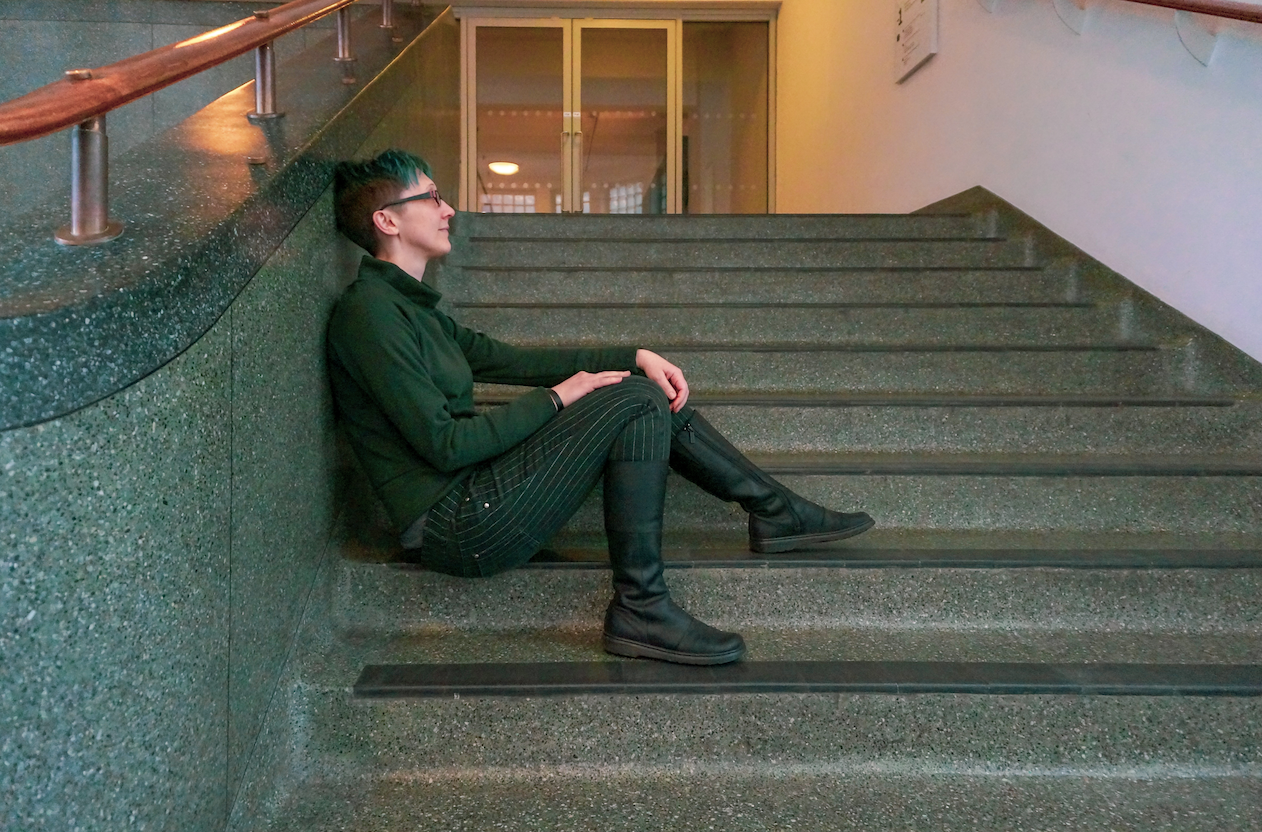
We are coming up fast to the end of the year and, since it’s started getting darker earlier, I feel the days slipping away. The change of weather has me reaching for my warmer and thicker garments, so to add them I’ll be making the Toaster version 1 from Sew House 7.
Toaster #1 has two variations - a standing neck or a cowl version
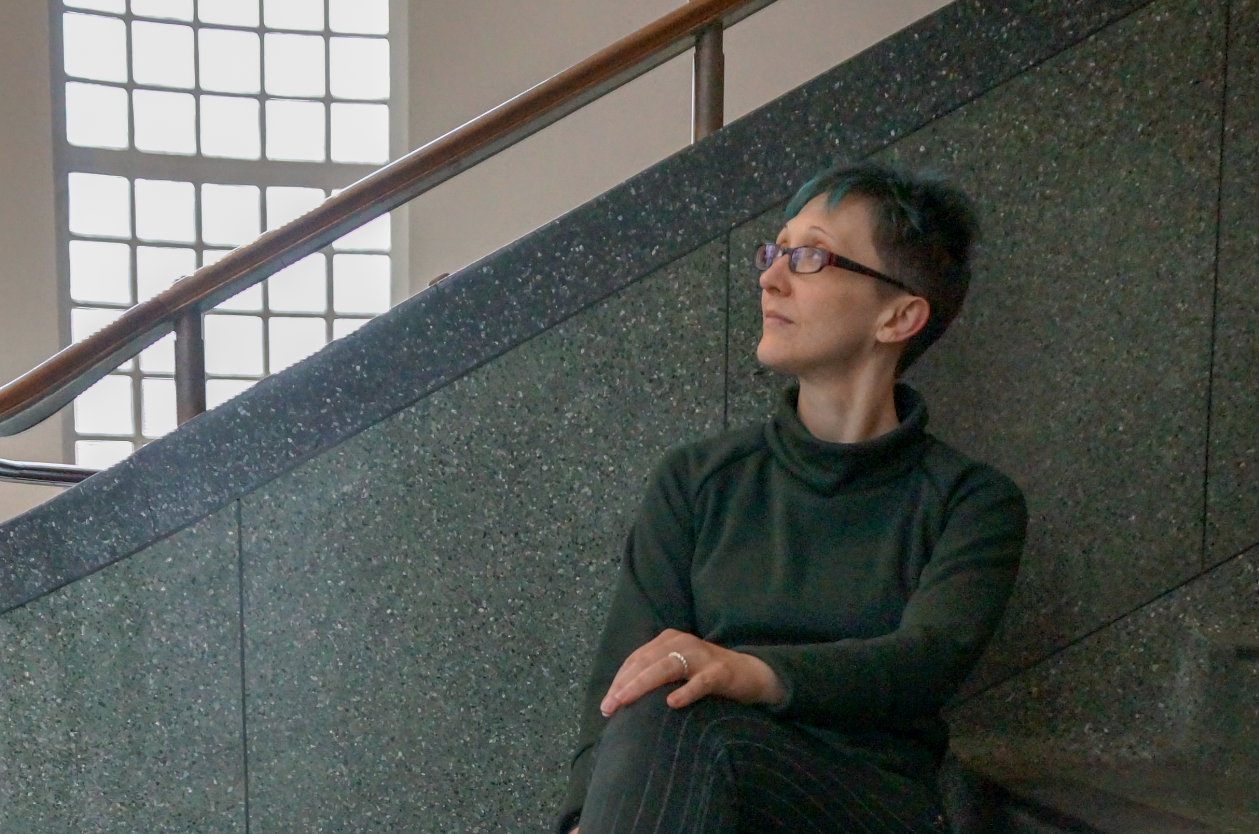
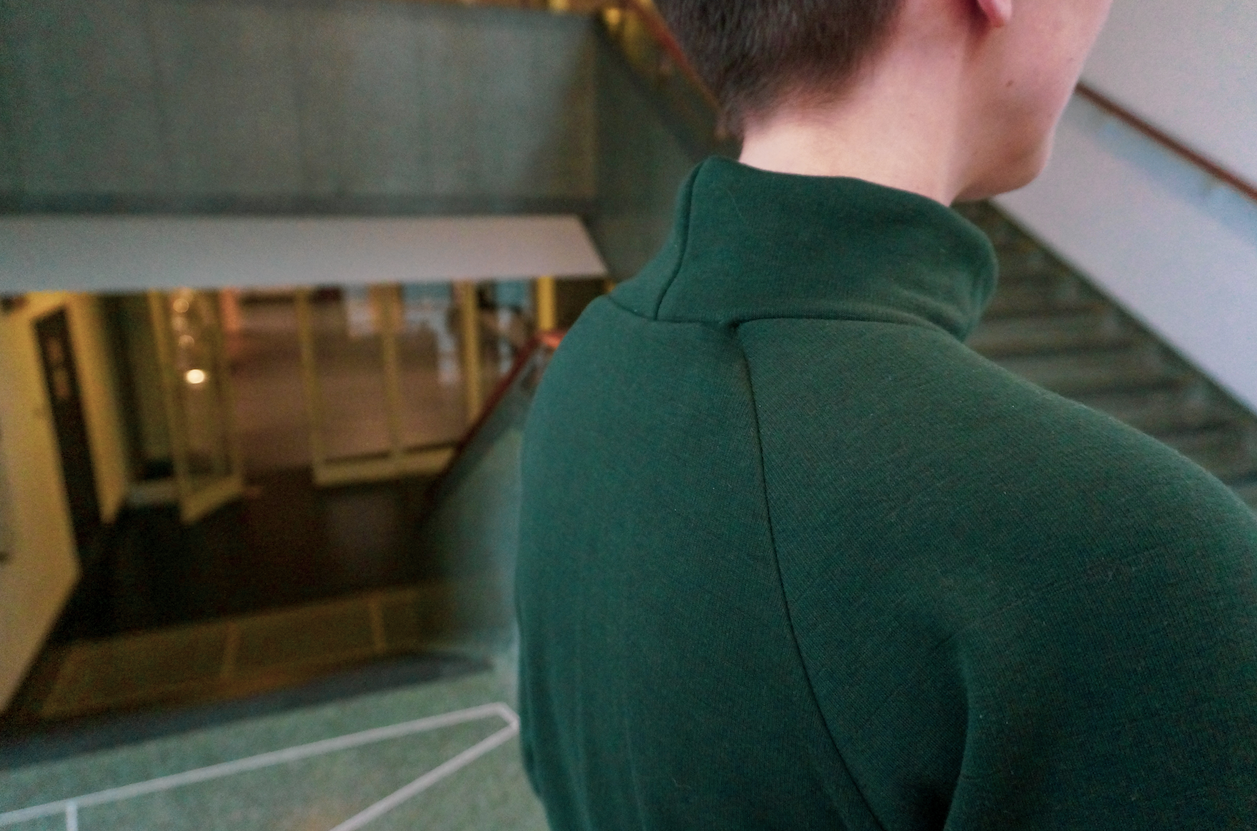
Sew House 7 has two versions of the Toaster sweater and Version 2 reminded me too much of the Talvikki Sweater that I made in April, with set in sleeves and a split hem. Version 1 has a hemmed banned and raglan sleeves, another feature that I’ve not done before. It is also described as a close fit, semi cropped sweatshirt that would work best with thicker or stiffer knits to keep the neck standing upright. I do prefer to wear tops that are longer in the back, so that they cover my butt.
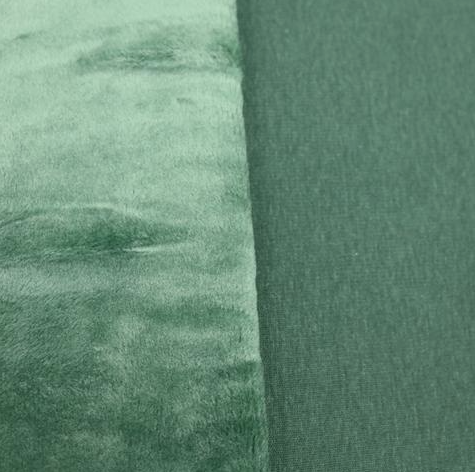
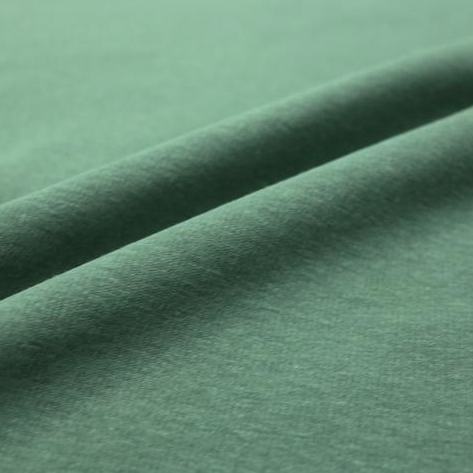
For this make I used Fabric Galore’s fleece backed sweatshirt in bottle green. You can’t tell from the photos, but the comparison to the navy polyester that I used for my Named Talvikki sweatshirt is really quite noticeable in the touch. It is a few levels softer due to the fabric composition, with a 50/50 of cotton and polyester. Sweatshirt type fabric has become more and more popular over the past year and I’m glad that quite a few companies have released patterns to suit this type of fabric, such as the Named Sloane Sweater, Papercut Pattern Bowline Sweater (read how Perrine got on with hers) and Seamwork Astoria to name a few.
I cut an XS but I’m not even sure why I choose that size! Usually I would have chosen a S or even a M to have that extra space for movement. But no, my past self had chosen and I was foolish not to check in all of my busyness. No matter, I did only use 1m for this size, saving a whole 0.6m from the instructions and it has left me 2m for a redo if I so wish.

She can rock any look
The fabric was once again really easy to handle and had little to no fraying at the edges. I used a combination of my overlocker and a long stretch stitch on my regular machine to sew it together. I stitched most of the garment with a 1cm seam allowance, apart from when I was joining more than two layers of fabric together such as the cuffs where I used 1.5cm. As my fabric was quite thick I really should have used a double stitch - a straight stitch with a zigzag stitch right next to it, or even a regular zigzag stitch. I overlocked each raw edge separately and then pressed open to prevent bulkiness of the seams.

This pattern recommended top stitching as a decorative addition and I seriously thought about doing some just to keep down the finished edges. But a problem that I had was the thread that I was using wasn’t dark enough and I didn’t want a really obvious colour, because if done badly then everyone could see it. Not to mention how unpicking on any fleece material would be a lifetime of pain. So I took the safe route and finished the raw edges with my overlocker, but one day there will be top stitching!


Even as a zombie your arms can remain toasty warm
This sweater was really easy to sew and is really comfy and warm. I did try it on at every single step of the way, to make sure that I could actually wear this jumper, and surprisingly there was no problem. I really do like how the neck piece stands up without the use of interfacing, and how the cuff length adds to the cosiness of the sleeves. I might even be a little fond of how it falls between the hip area too. Perhaps I am too used to the loose fit of jumpers and if I were to make it again, I would definitely extend the length of it, just enough to cover my bum for comfort.