
Can You Stowe This?
This month I took it a little slower in the sewing department. I finished two makes last month, Named Utu Pinafore and Stitch Witch Bathurst Top, in record time and was in no hurry to squeeze out another one.
Even though I spent most of January reflecting and planning my next upcoming projects, I still wanted to enjoy each step of my creative process. Last year I had lost my sewjo and didn’t want to write about anything that I had done. Writing up my projects is an important part of my sewing process; I felt that I had so many things unfinished in my head. Sometimes I envy those who don’t have this additional need to write as part of their reflection to their work.
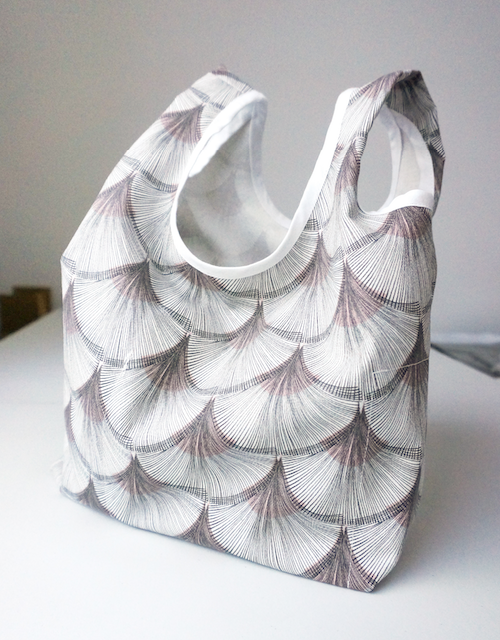
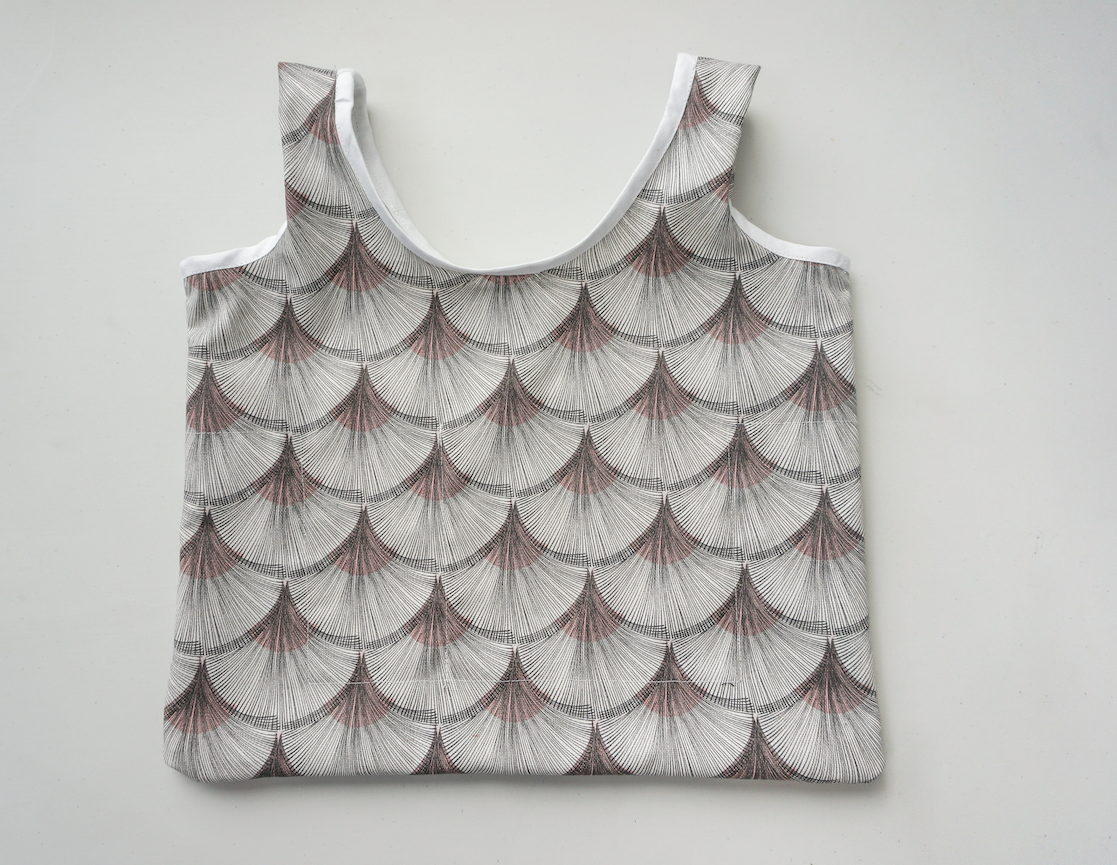
I took most of 2020 off from my blog to sew for myself and tried to navigate the mental health aspect of not feeling like I had fully finished anything. This project was meant to be my slow start to the year, but instead I jumped into the year with both feet ready to run. To help me slow down a little here’s my write up about the Stowe Bags. I’ve never made bags before so there was a little challenge in that, but the pattern was simple enough not to add to the worry of getting it perfect. I also liked the additional detail of using bias binding to finish off the edges that people would see; normally I associate that type of finish with the guts of a garment.
This pattern was a collaborative effort between Fringe Supply Co. & Grainline Studio and was released in late 2015. The pattern comes in two sizes, small and large, and makes for a well-organised project bag with a range of different sized interior pockets. They’ve labelled the pattern as advanced beginner because it includes a fair amount of bias binding. Once you get the hang of bias binding it’s not too tricky, and this pattern is a great way to practise this finishing technique.

When I first printed my PDF copy, I noticed that one of my pattern pieces (no. 3) had no information of what it was. It wasn’t too hard to work out that it was the other pocket version for the small size, but it surprised me that no one had pointed out the missing details and updated the pattern to include that information.
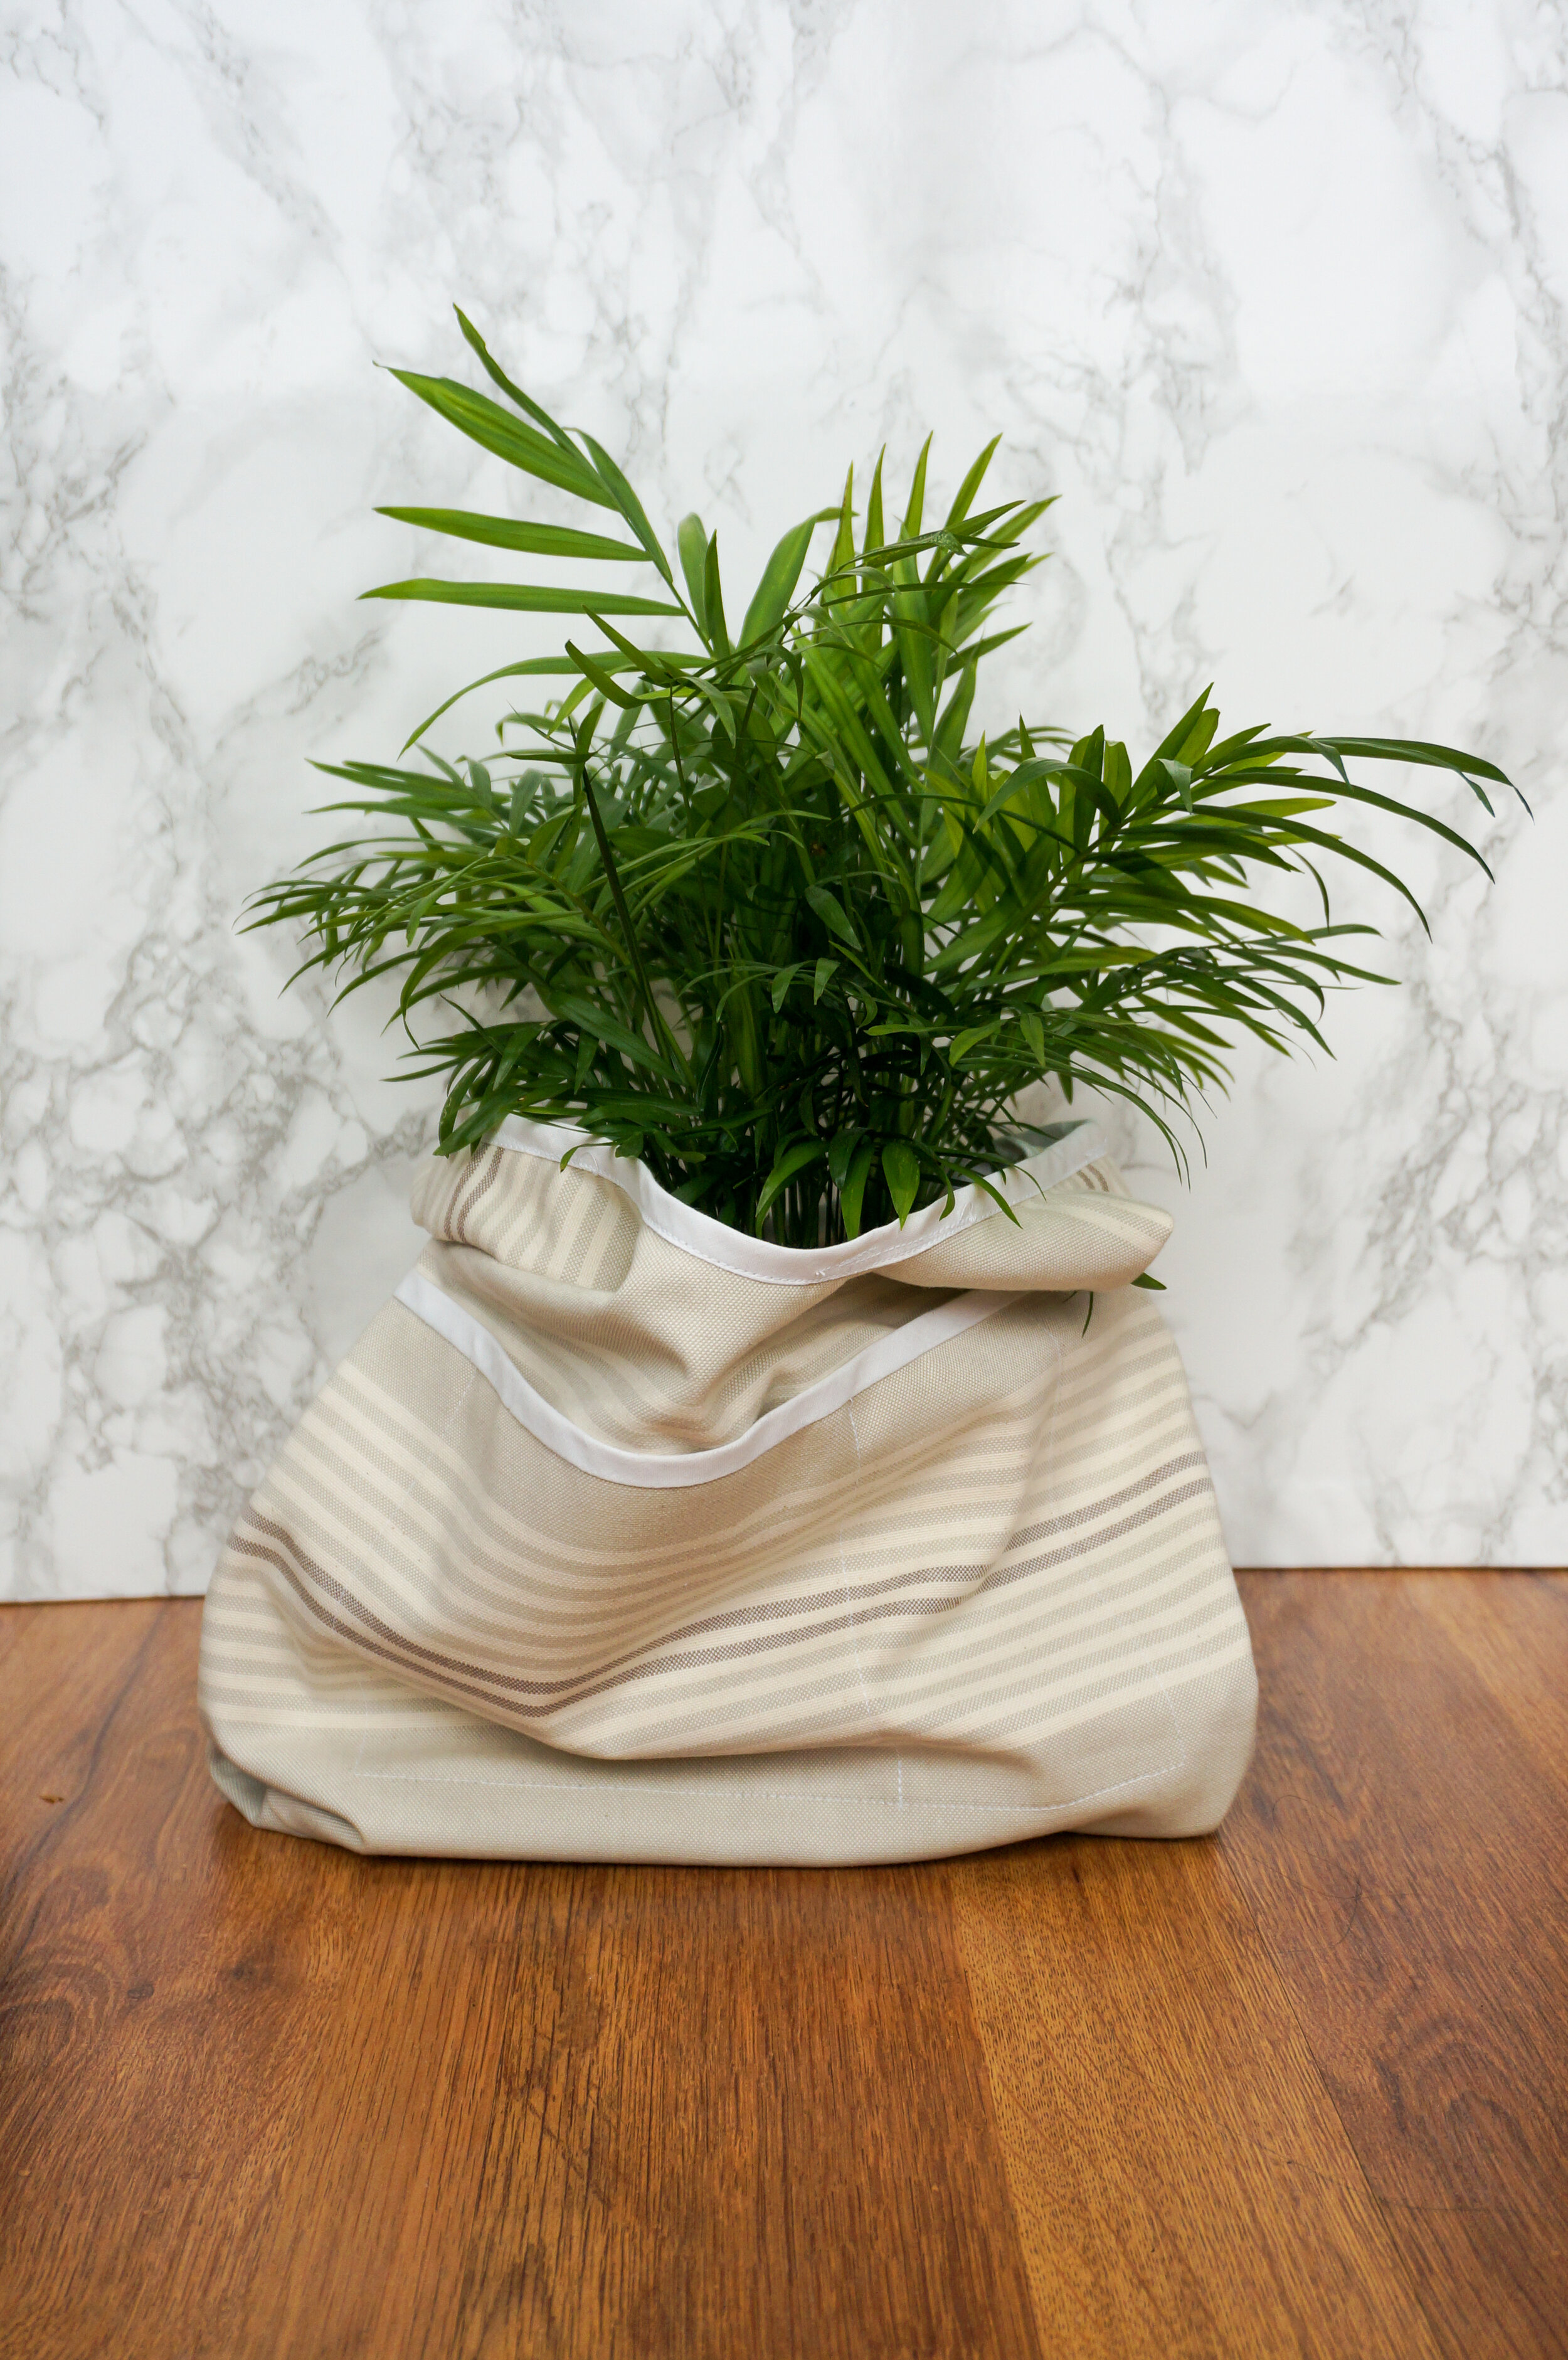
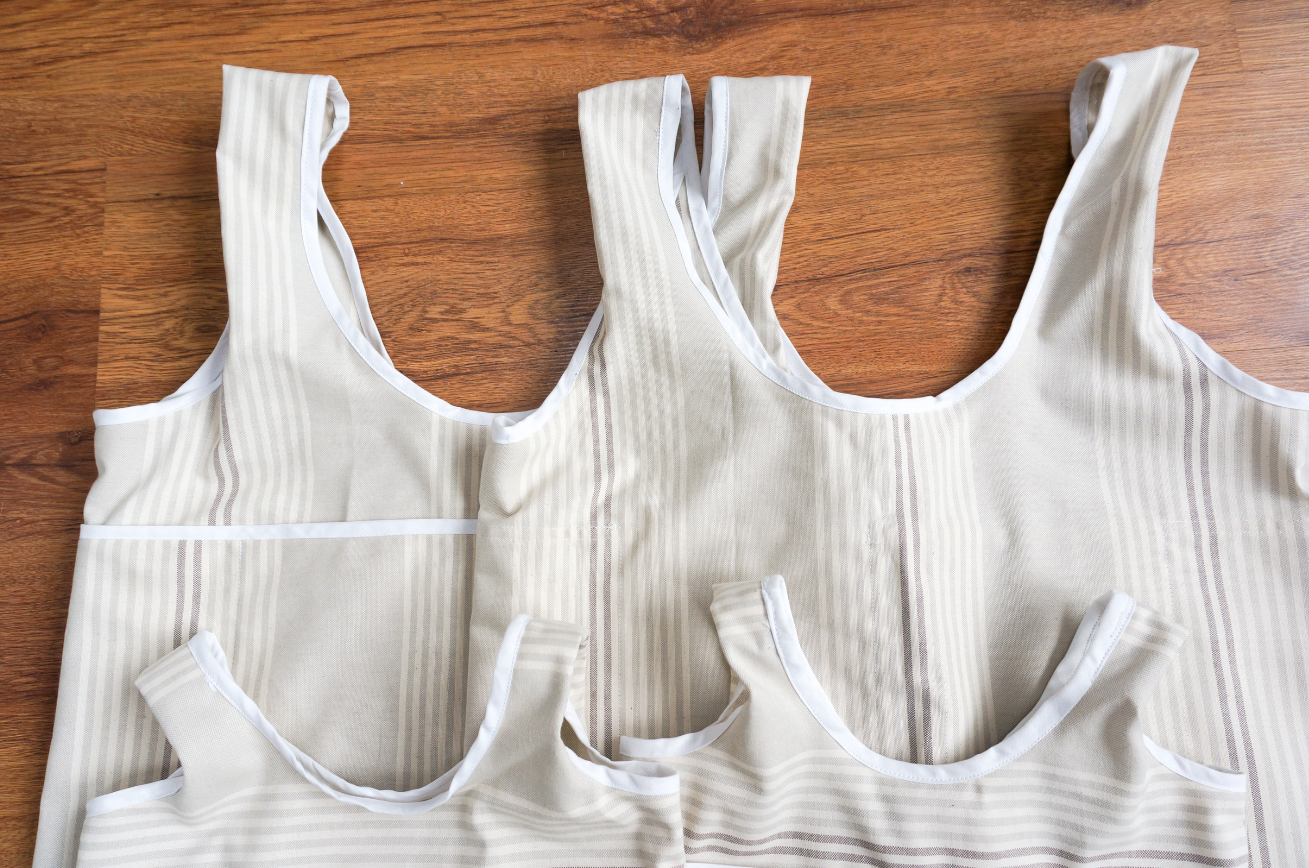
I eventually made a few of these to give to others but for my first version I used Fabric Galore’s home furnishing fabric: Fan Blush. It’s described as a heavyweight cotton perfect for a cushion, curtain or even a bag. The pattern suggested medium weight woven fabrics such as denim, linen, twill, and canvas, anything over 9oz isn’t recommended as it could become difficult for your sewing machine to handle.
I didn’t spend a lot of time looking at the pattern instruction as I found the sew-along on the Grainline blog to be far more helpful. But there were still parts on both the blog and pattern instruction that could have done with more explanation. For example, there could have been more emphasis on the option to mix and match pattern pieces or to even make your own for customisation. I went with cutting two of pattern piece No. 3 instead of one of each pocket pattern.
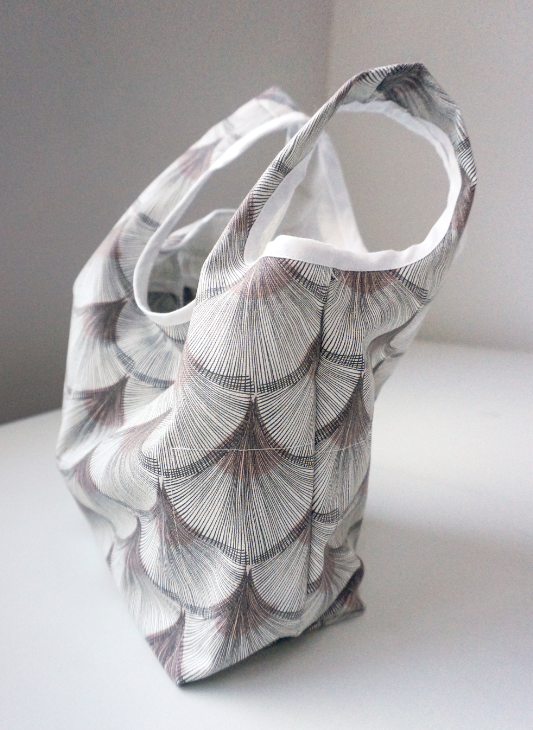
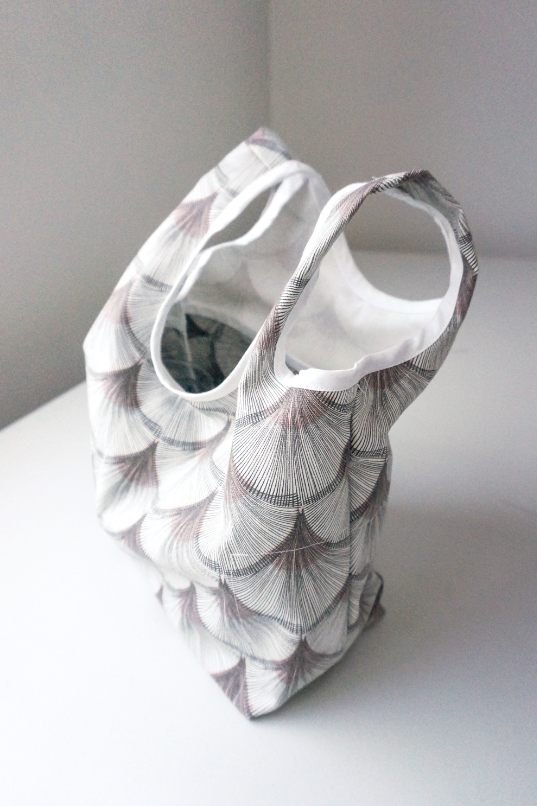
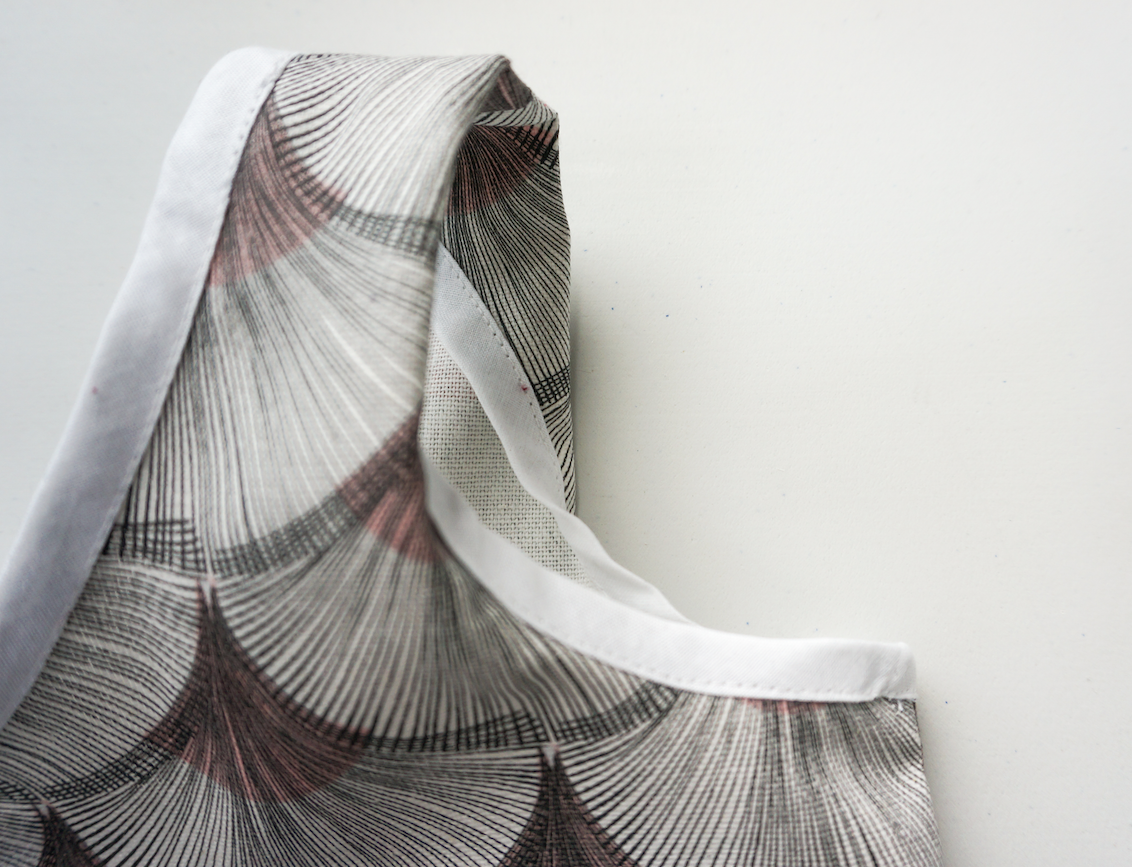
Just before binding my inner edge, I had turned my bag the right way round and realised that the guts of my bag were visible and didn’t look finished. I’ve seen in other bag projects where the joining edges had all been hidden between the two layers. As this bag doesn’t have a lining, I felt that how the pockets were attached could have been finished better to hide the exposed edges. I didn’t have time or the headspace to work out the logistics of hiding these edges. If anyone has worked out how to hide their bottom seams between the pocket and shell fabric, do let me know. I suspect without getting into really awkward positions with your sewing machine, bias binding or even finishing by French seams would be the best bet.

I wasn’t sure whether or not I wanted to clip the corners of my bag after turning it out because that is usually how you are able to get the points looking so sharp, but I decided to carry on as the instructions recommend and then for future bags I would know if I wanted to clip them or keep them.
The last point that wasn’t as obvious was the two finishings, and if I didn’t have such a heavyweight fabric I would have liked to try the second finish (step 15). Perhaps having a lightweight fabric would be better with a permanent bottom.
In step 14, I found that turning the sides in for 3 inches was too much, so for the other small bags I only turned 1.5 inch and for the larger size I turned either 2 or 3”.
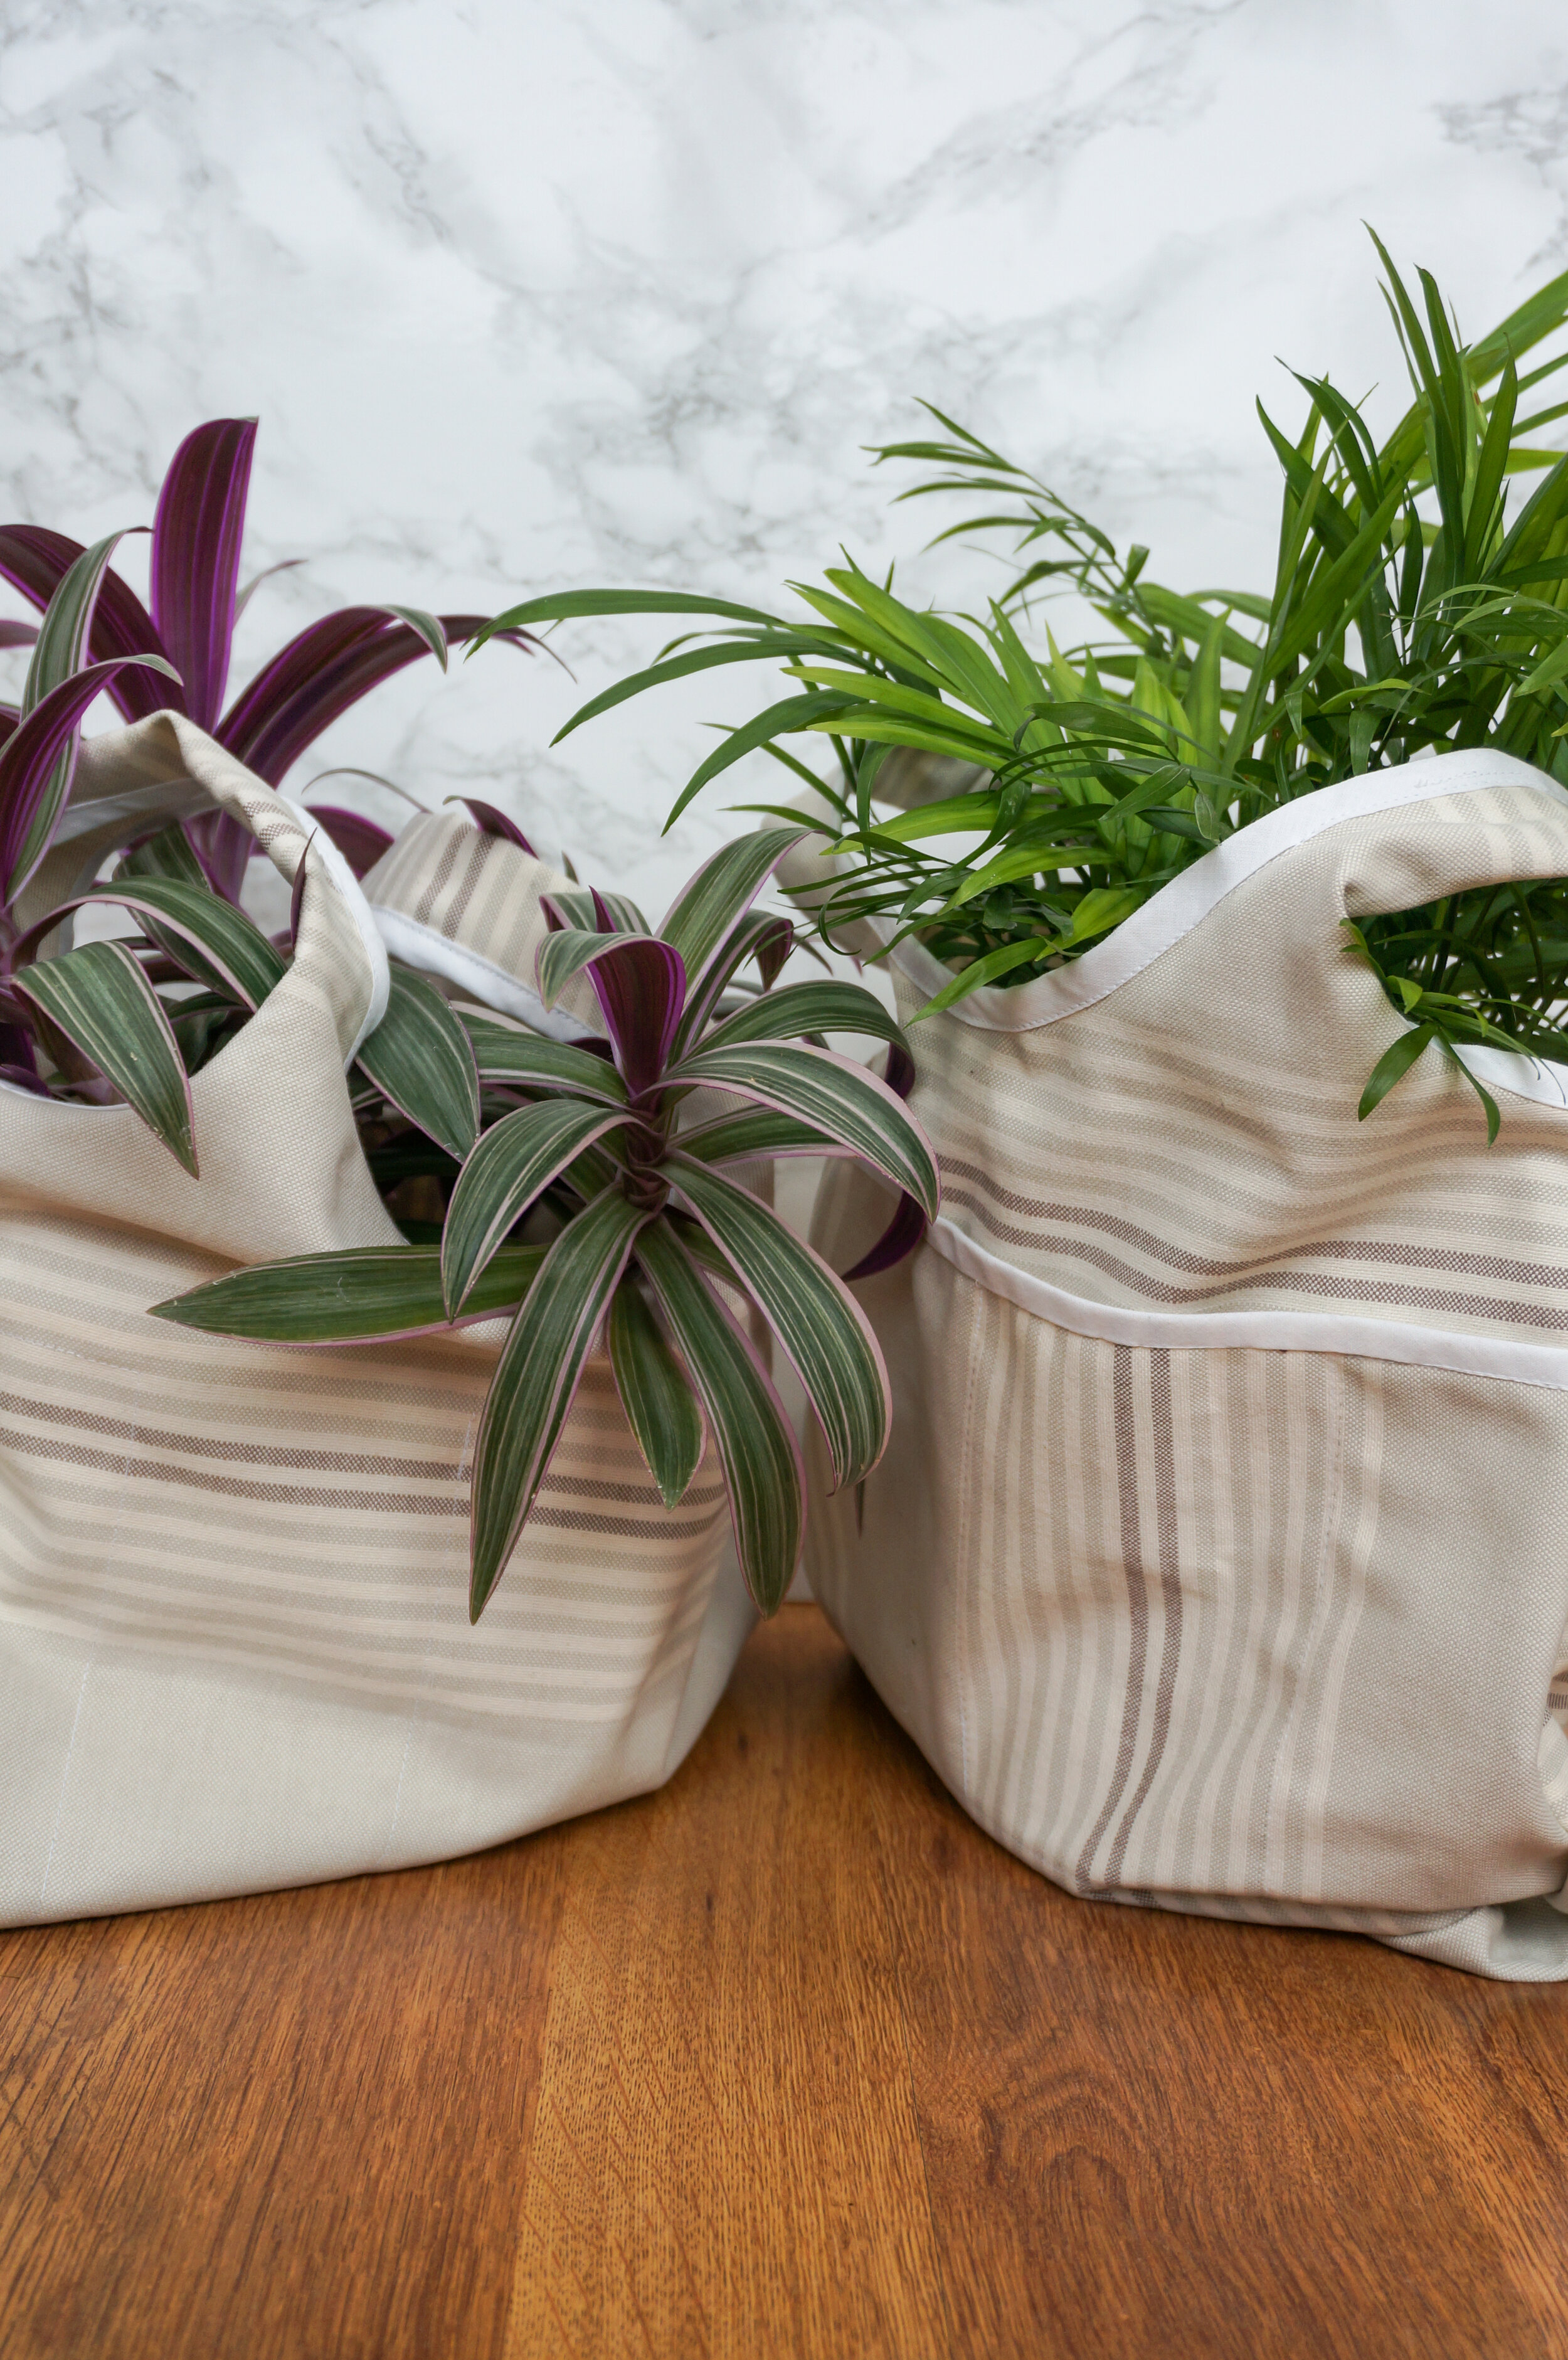
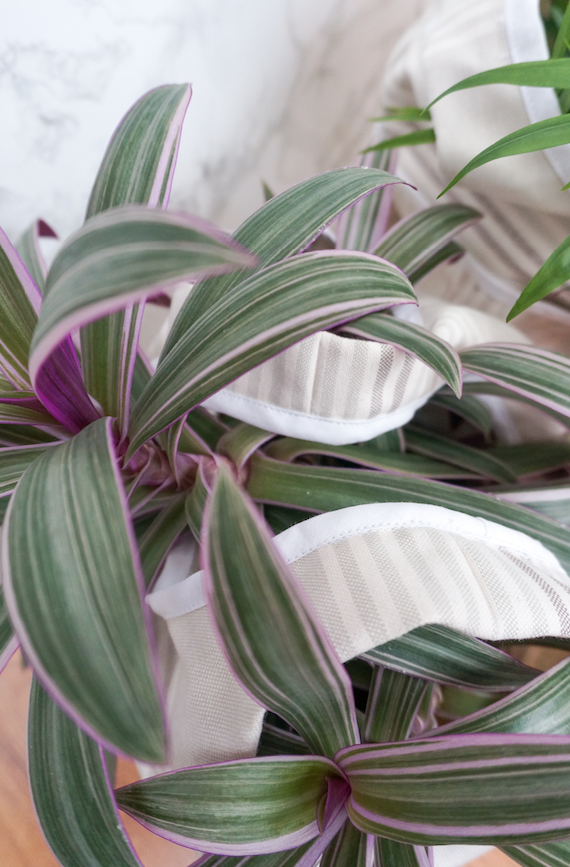
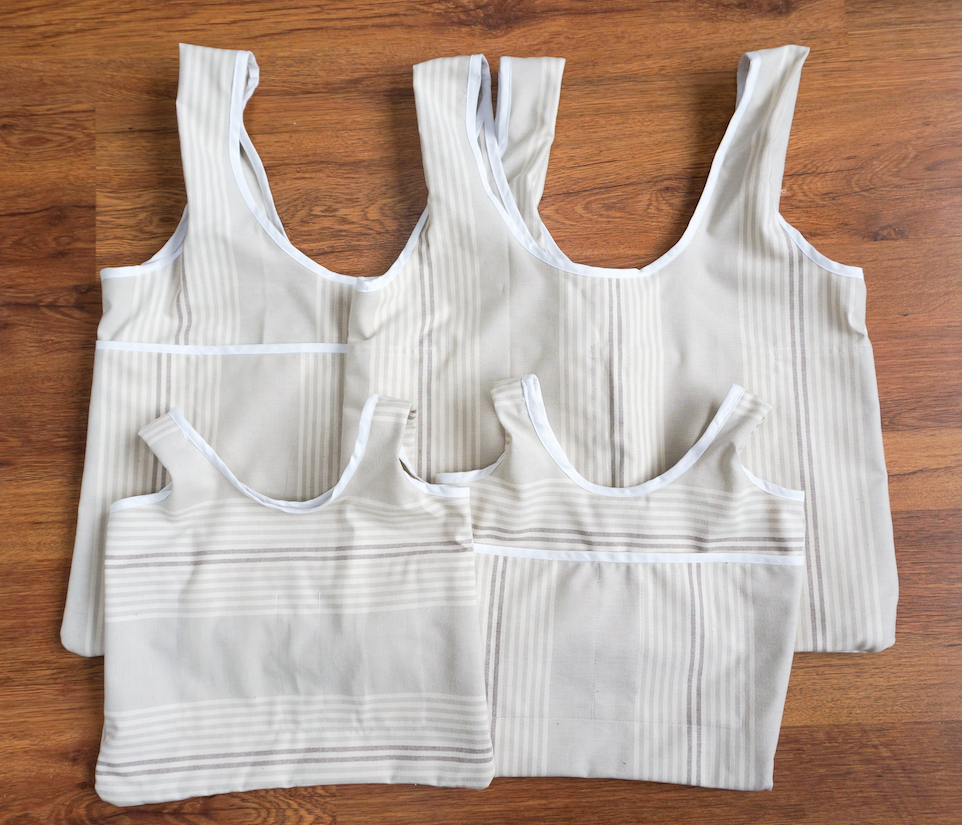
Here are some photos of the bags I’ve made in both sizes.